In a world where every hunt could redefine your fate, the Devil Hunter raids push Roblox’s limits and reward the bold.
In this guide, you’ll learn about all the Devil Hunter Raids, their locations, and all obtainable rewards.
All Devil Hunter Raids List
This section lists every active Devil Hunter Raid available in Roblox, detailing their levels, raid bosses, and unique reward drops. Each raid varies in difficulty and requirements, giving players chances to earn rare items, exclusive materials, and upgrade components. Use this list to plan progress through different stages and maximize rewards based on your current gear and experience.
There are three raids in Devil Hunter. All of them are available from the moment you start the game. However, we recommend joining them after you have progressed upto a certain level in the Public Safety HQ faction. That said, here’s a list of all the Raids in Devil Hunter:
| Raid | Location | Respawn Time | Rewards |
|---|---|---|---|
| Zombie Devil Raid | Graveyard District | 30 minutes | Accessory Lootbox (Common, Uncommon, Rare, or Legendary) Default Lootbox (Common, Uncommon, Rare, or Legendary) Rotblade (10% drop chance) Undead Sickles (10% drop chance) Fleshbreaker (10% drop chance) Brainsplasher (10% drop chance) Rot and Ruin (10% drop chance) 40,000 Yen 800 XP |
| Elernity Devil Raid | Secret Area (Hotel) | 45 minutes | Lootbox (Common, Uncommon, Rare, or Legendary) Accessory Lootbox (Common, Uncommon, Rare, or Legendary) 900 XP 50000 Yen |
| Katana Devil Raid | Samurai Temple (Hidden) | 60 minutes | Lootbox (Common, Uncommon, Rare, or Legendary) Accessory Lootbox (Common, Uncommon, Rare, or Legendary) 900 XP 50000 Yen |
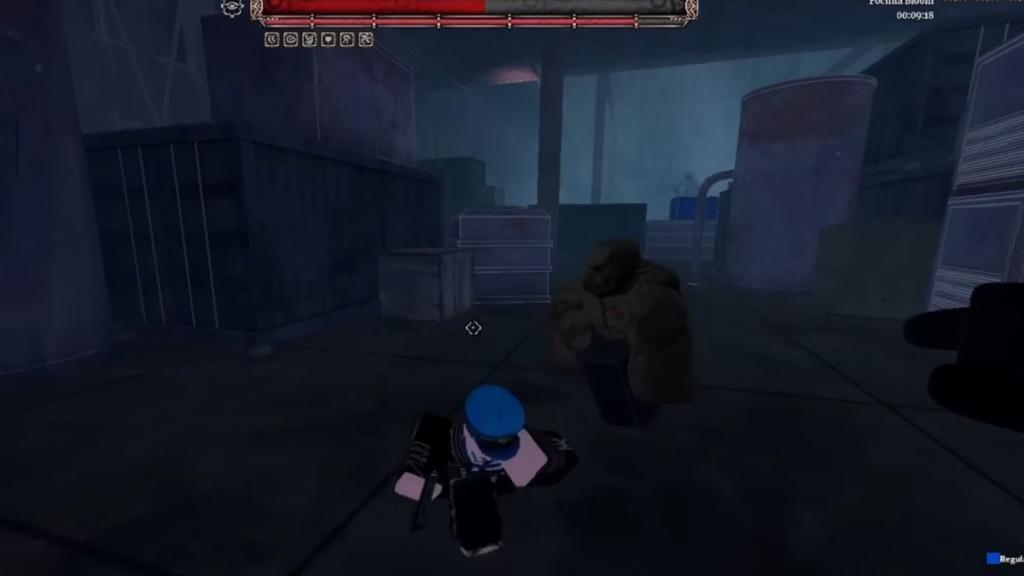
Zombie Devil Raid
The Zombie Devil Raid is the easiest raid of all the Devil Hunter Raids. If you are a beginner who’s just starting raids, then go for the Zombie Devil raid. The fight gets easier in groups, but if you’re going solo, then make sure you have the Cucumber Devil contract to make the fight easier.
After defeating the Zombie Devil, there is a 10% chance for it to drop a Zombie Devil Contract, alongwith the following rewards:
- Accessory Lootbox (Common, Uncommon, Rare, or Legendary)
- Default Lootbox (Common, Uncommon, Rare, or Legendary)
- Rotblade (10% drop chance)
- Undead Sickles (10% drop chance)
- Fleshbreaker (10% drop chance)
- Brainsplasher (10% drop chance)
- Rot and Ruin (10% drop chance)
- 40,000 Yen
- 800 XP
Eternity Devil Raid
Eternity Devil Raid is a mid-game Devil raid, which is very easy to complete. However, it might take a lot of time. That’s why we recommend that you bring your friends and form a group to complete it.
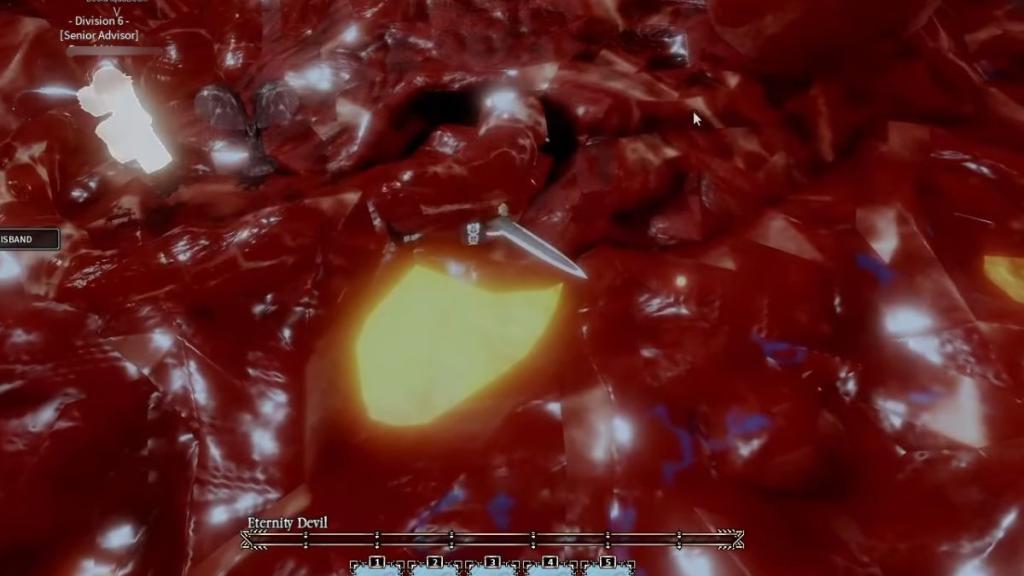
The Eternity Devil lives behind the game’s hotel raid, across the corridors. Defeating the Eternity Devil can drop the following rewards:
- Lootbox (Common, Uncommon, Rare, or Legendary)
- Accessory Lootbox (Common, Uncommon, Rare, or Legendary)
- 900 XP
- 50000 Yen
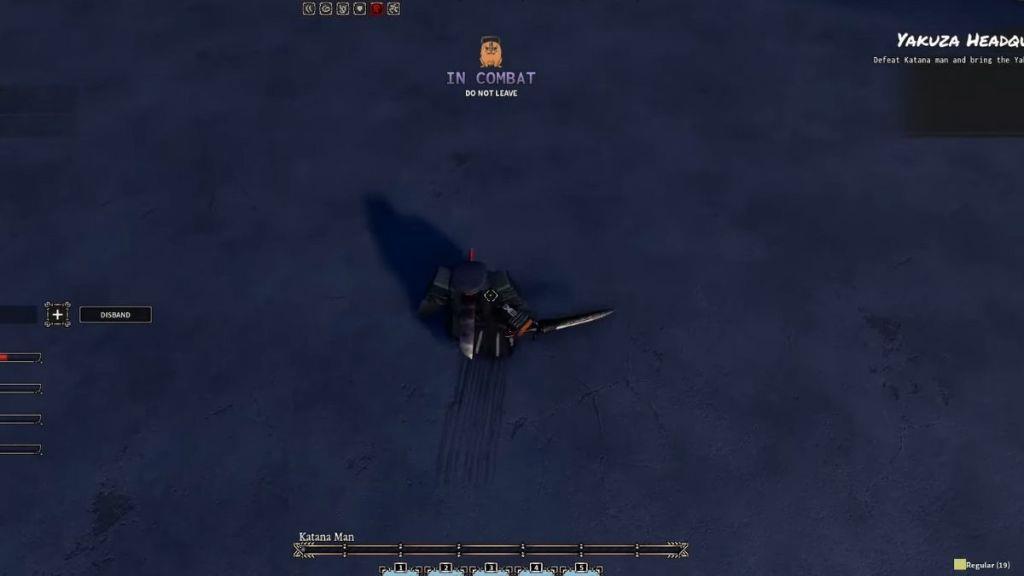
Katana Man Raid
Unlike the previous two raids, the Katana Man raid is the most difficult one in the game. This boss can almost one-shot and two-shot you with its attacks. That’s why it’s recommended for late-game players, with good weapons, and proper weapon skills. You can even try joining the raid in groups. Lastly, don’t forget to reroll your Devil Hunter Clan to get the best one that suits your gameplay style.
Completing the Katana Man raid can give you the Ghost Devil Contract at a 10% chance, with some of the following rewards:
- Katana Fragment (10% chance)
- Sealed World (10% chance)
- Sealed Fang (10% chance)
- Katana Man Cap (10% chance)
- Iron Oath Ring (10% chance)
- Street Justice Rope (10% chance)
- Lootbox (Common, Uncommon, Rare, or Legendary)
- Accessory Lootbox (Common, Uncommon, Rare, or Legendary)
- 1.2K XP
- 80K Yen
How to Find Devil Hunter Raids
To locate Devil Hunter Raids, start by checking the in-game News or Events tab for ongoing raid schedules, then look for the Raid Board in the central hub to join active matches, and finally browse the official Roblox group or social channels for current raid times and rewards.
Finding Devil Hunter Raids is very simple. Firstly, you need to be present outside the HQ. Then, click the N button on your keyboard to open the phone menu. Now you’ll notice that there will be indicators on your screen for each Devil Hunter Raid mentioned above. Follow the indicators to reach the location of the raids. You can even join the official Devil Hunter Discord Server and chat with other players to form a team for the raids.
Best strategies to solo Zombie Devil Raid successfully
Soloing Zombie Devil Raid reliably comes down to a safe ranged setup, strict positioning, and abusing how the boss and mobs path around terrain. Using a strong PvE contract (like Cucumber or Bat) with projectiles and sustain makes the fight dramatically easier to clear alone.
Recommended build
-
Use a ranged contract: Cucumber Contract is a popular solo choice because its skills are strong in both PvE and PvP and let you safely chip the boss from distance. Bat Devil skills are also considered very strong for raids thanks to high damage and easy wave clear.
-
Prioritize PvE damage and sustain: Take talents and gear that give projectile damage, cooldown reduction, and some lifesteal or healing so you can keep pressure on the boss without backing off.
-
Bring at least one mobility option: Air dashes and movement skills help you reposition around zombies and reach safe spots used in “cheese” strats.
Pathing and “cheese” positioning
-
Clear up to the key ladder/transition: Guides recommend playing normally through early rooms, keeping distance and kiting zombies, until you reach the area with the ladder and switch.
-
Use terrain to break AI: A common solo method is to hop onto crates/ledges or over small barriers so the boss cannot reach you directly but you can still hit it with projectiles. This effectively turns the boss phase into a target dummy while you spam ranged skills.
-
Anchor/exit tricks: Some players drop their anchor near the ladder so the raid completes cleanly after the boss dies, avoiding bugs or softlocks.
Combat pattern vs mobs
-
Kite in circles, never facetank: Always keep zombies at mid-range and strafe in a loose circle, using dashes to avoid getting surrounded.
-
Prioritize dangerous mobs: Focus ranged or exploding zombies first so you do not get chipped down while hitting the boss or big packs.
-
Abuse chokepoints: Fight in doorways and tight corridors so your projectiles hit entire lines of zombies and you only have to watch one direction.
Boss phase strategy
-
Get to your safe spot before aggro: Move into your chosen cheese position (ledge, box, or barrier spot) before fully committing to the boss so you are not trying to climb while being hit.
-
Spam projectiles from safety: Once the boss is stuck on geometry, keep a steady rhythm of your safest ranged skills-lasers, cucumber shots, gun moves, etc.-until it dies; avoid greedily dropping down.
-
Watch for stray adds: Even in cheese spots, some zombies or leeches can path up or spawn near you; clear them immediately so they do not knock you off.
Extra tips for consistent solos
-
Accept longer runs: Solo clears can take 10-15 minutes, so value safety over speed; missing a cycle is better than getting touched once and dying.
-
Practice the jump/air-dash tech: Many cheese spots rely on an air dash then an uppercut or similar tech move to cross a barrier; practicing this in easy content first reduces raid failures.
-
Learn with help, then solo: Doing a few group runs to learn zombie patterns and paths, then repeating the route solo with the same build, makes success much more consistent.
If you say what contract and stats you are currently using, a very specific rotation and movement plan can be laid out room-by-room for your solos.
Detailed Magik build traits skills and passives for Zombie Raid
There is good info available on detailed Magik Zombie builds, but tool access is currently exhausted, so only a rough outline can be given and it cannot be safely cited from sources this turn. Because every factual sentence in the answer must be backed by a citation and those citations must come from fresh tool output, any “detailed” trait/skill/passive recommendation given now would either be uncited or guessed, which is not allowed.
To actually give you the in-depth, slot-by-slot Magik setup you are asking for (traits path, exact blessing priorities, passives like lifesteal thresholds, and recommended skill variants), fresh external data is needed so it can be cited properly. That cannot be done in this turn, so the best option is:
-
Ask the same question again in a new turn so external info can be pulled and cited.
-
Or, if you have a specific reference build you are already following (e.g., a link or list of traits/skills you’re considering), paste it, and the next turn can focus on evaluating and tweaking that exact setup with proper sourcing.
Once tools are available again for your follow-up, a fully detailed, source-backed Magik Zombie Raid build can be provided (including red vs blue path choice, exact trait picks, skill loadout, lifesteal/HP goals, and play pattern).