Deep within Fontaine’s shifting trials, the Tower of Inversion stands as one of Genshin Impact’s most puzzling quests. Hidden mechanisms, mirrored pathways, and cryptic clues challenge players to rethink everything they know about gravity and perspective.
With that said, the quest can be a bit tricky, and you will find yourself looking for directions at a certain point. So, here is a complete Genshin Impact Tower of Inversion quest walkthrough guide for you.
Genshin Impact Tower of Inversion Quest Full Walkthrough
Follow this full walkthrough for the Genshin Impact Tower of Inversion quest. Activate the tower in the Abyss and select your team of eight characters across two phases. Clear each floor’s combat trials by defeating enemies within time limits, using elemental reactions and switches to match challenges. Collect rewards like Primogems and Mora after every floor, and push to the top for the crown achievement. Track progress with the in-game menu to avoid mistakes.
The Tower of Inversion is a big world quest that is split into eight parts. Although most of it is pretty simple, the area where you have to cleanse the corruption is a bit tricky. Follow the steps given below to complete the quest easily.
While you are here, also check out The Shoemaker’s Children Go Barefoot and The Tale-Telling Heart quests of Nod-Krai.
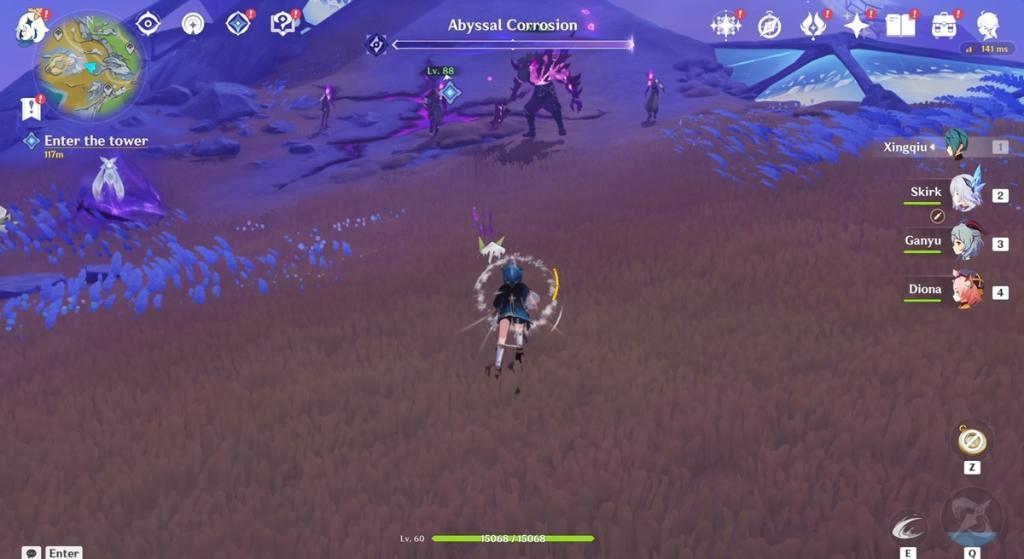
1. Enter the Tower
The first thing you will need to do is head into the tower. But before you can do that, you will have to defeat the Abyssal enemies that spawn at the bottom. Defeat them and use the power of Kuuvahki to enter the tower.
2. Investigate the core shrouded in Abyssal energy
Inside the tower, you will find more monsters. Defeat all the monsters again to unlock the core inside. Get near the shrouded core and try to purify it.
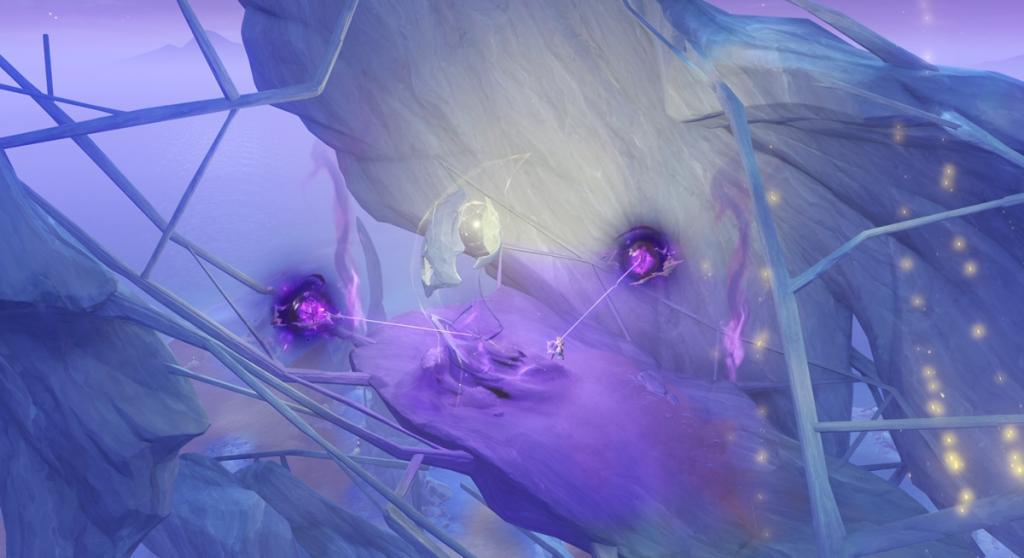
3. Dodge the attacks
Abyssal portals will open around you and will try to shoot attacks that you have to dodge. Use the dodge button to avoid attacks and keep moving around depending on the projectile direction aimed at you.
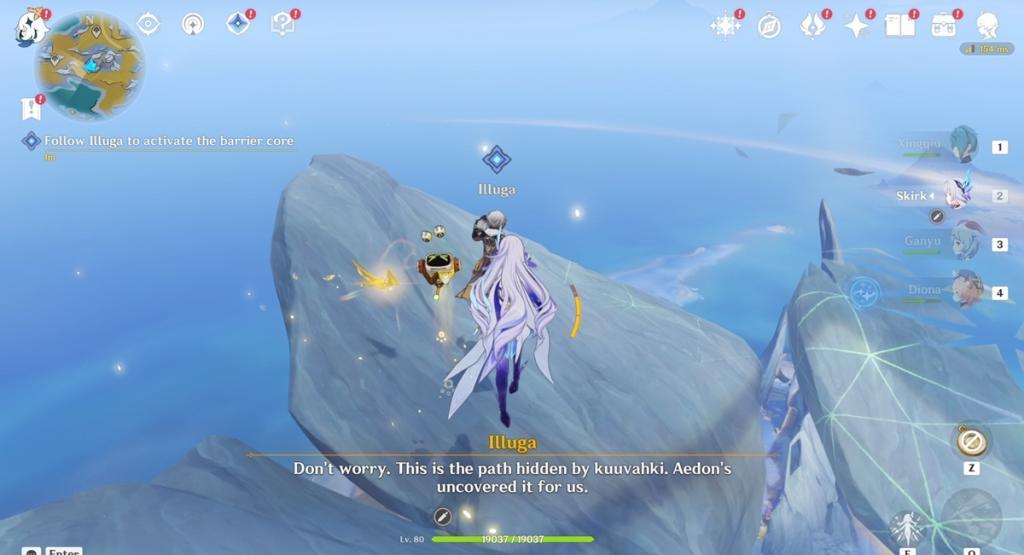
4. Follow Illuga to activate the barrier core
Now, Illuga will appear and help you out. He will create platforms using his power that you can use to move to the barrier core. Stay near Illuga and follow him to reach the end. Make sure not to go ahead, as you will fall without his platforms.
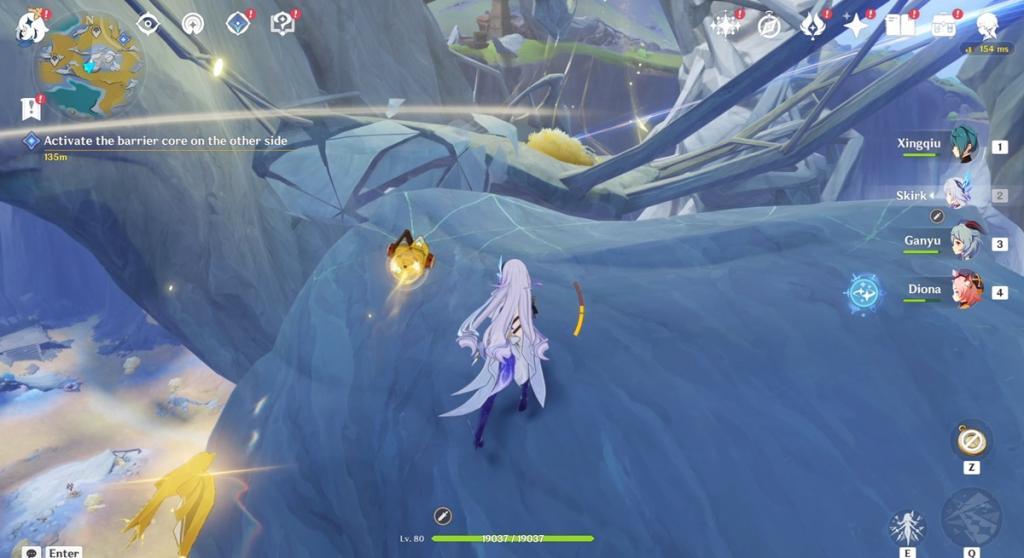
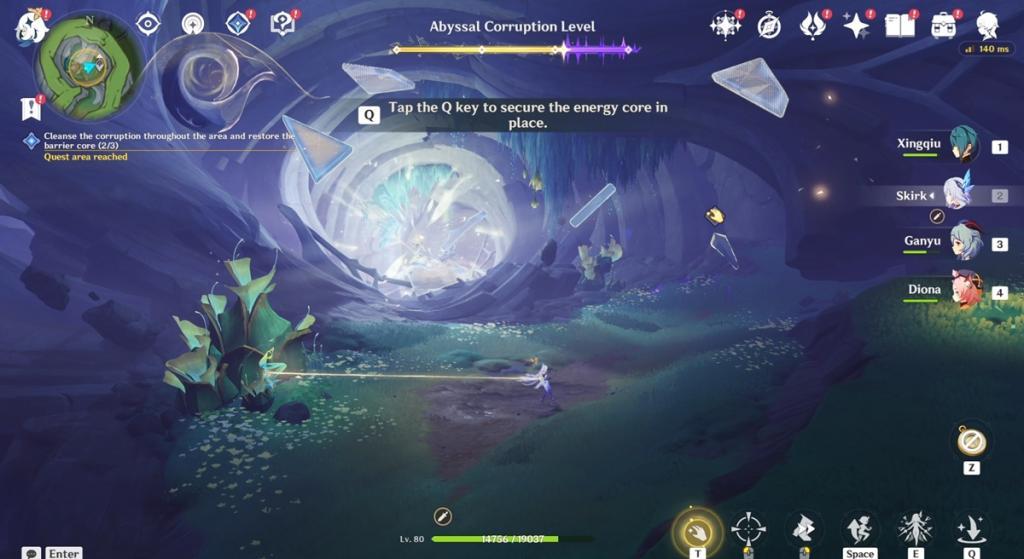
5. Activate the barrier core on the other side
After reaching the very top, Illuga will ask you to activate the barrier core on the other side. This time, Illuga won’t be there to lead you, but you can still use his platforms. Move slowly and wait for the platforms to appear in front of you before moving ahead. Continue this way until you reach the other core.
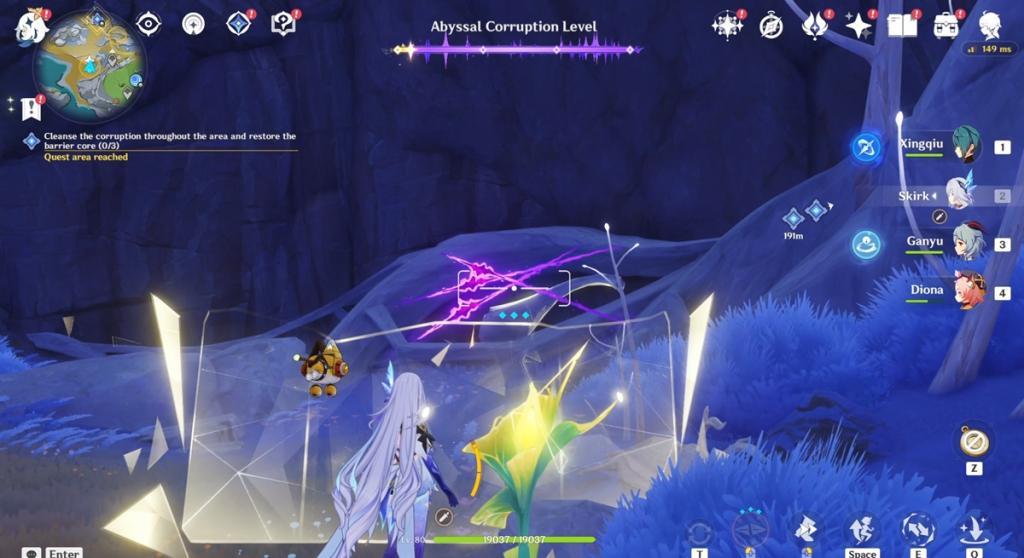
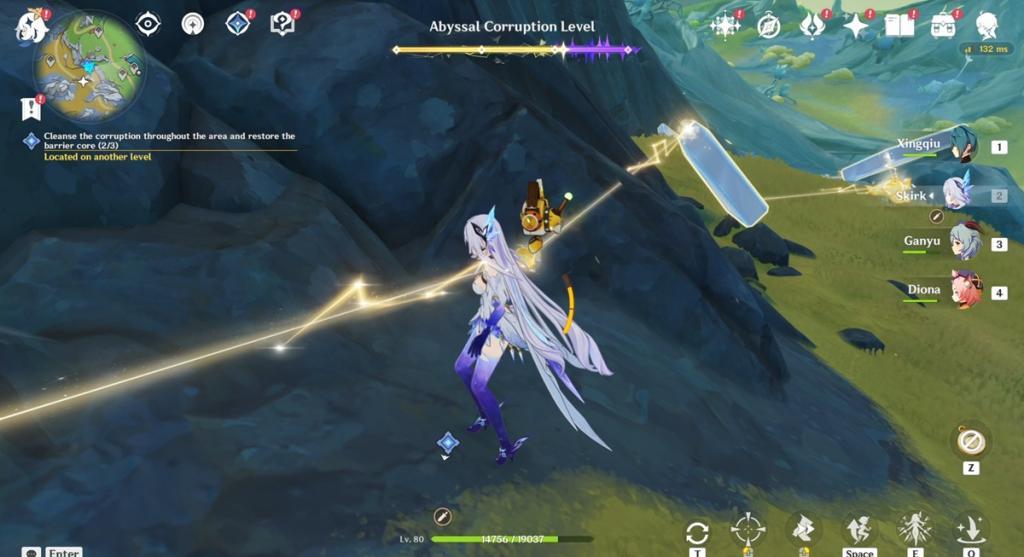
6. Cleanse the corruption throughout the area and restore the barrier core
Next comes the tricky part. You will be asked to cleanse the corruption and restore the barrier core in three areas. Although doing it is simple, the process is a bit tricky to understand. Here is how you can restore the three barrier cores:
First barrier core
Head to the rightmost quest mark and defeat all the abyssal enemies that spawn there. Now, look for the Kuuvahki flower nearby and press ‘T’ to take its power. Hold the attack button and use the Kuuvahki attack at the abyssal threads that block the particle. Make sure to hit the spiky marks on the abyssal threads. Once you do this, more enemies will appear.
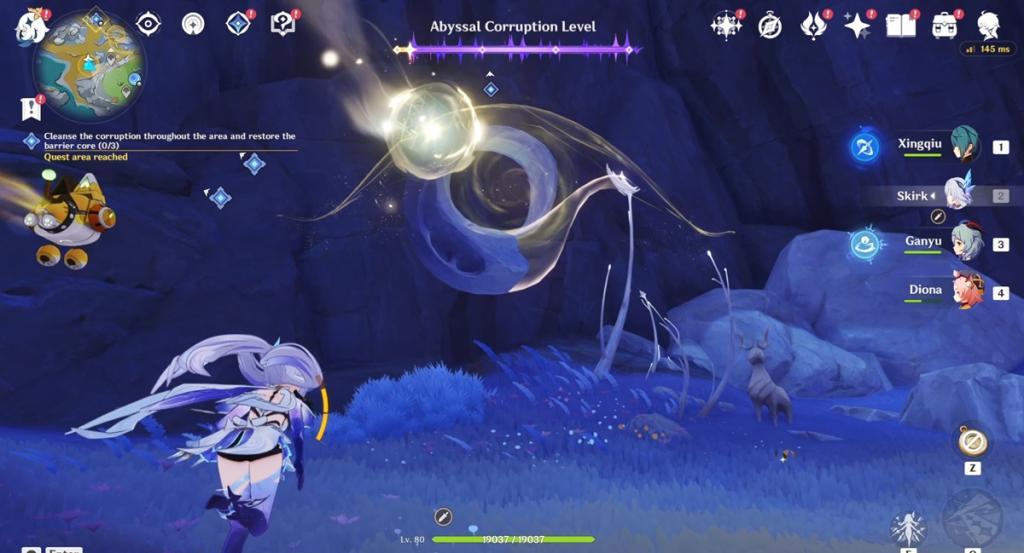
You can use the same power to hit and defeat them, or do it the old-fashioned way. Now go near the broken particle and press ‘T’ again to store it. Look up at the barrier core and press and hold the attack key to shoot the broken piece back into place.
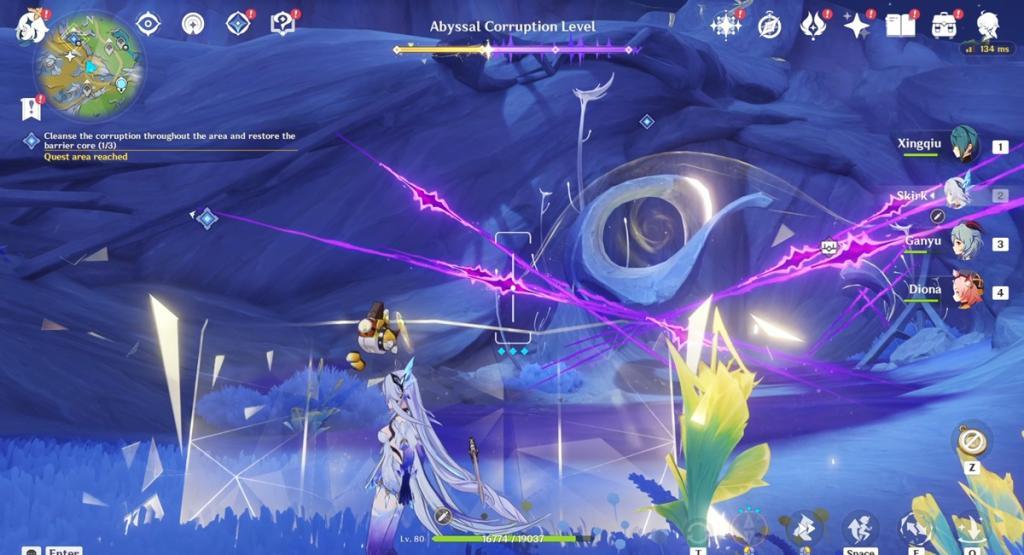
Second barrier core
Now, head to the middle quest mark and use the kuuvahki plant’s power to cut the abyssal threads as mentioned above. Collect the nearby broken particle and shoot it at the core to put it into place. This will spawn abyssal enemies. Defeat them to head to the next segment. Now, more abyssal threads will appear that you will have to cut down using the power of kuuvahki. Next, find the core piece behind it and put it into place using the same method.
Third barrier core
This one is a bit tricky to complete. Instead of cutting the abyssal threads, you will have to pick up the kuuvahki object nearby to create a link to the main panel. There will be three kuuvahki objects nearby. Pick them up and place them between the big board-like structures to create a connection. Pick the final piece and make your way between the final board and the main panel to complete the connection.
Now, head into the tunnel, and you will have to do a similar challenge again. This time, pick the kuuvahki object from the left, and head right straight without moving until the connection completes. Pick the two broken pieces and throw them at the barrier core above to complete this puzzle.
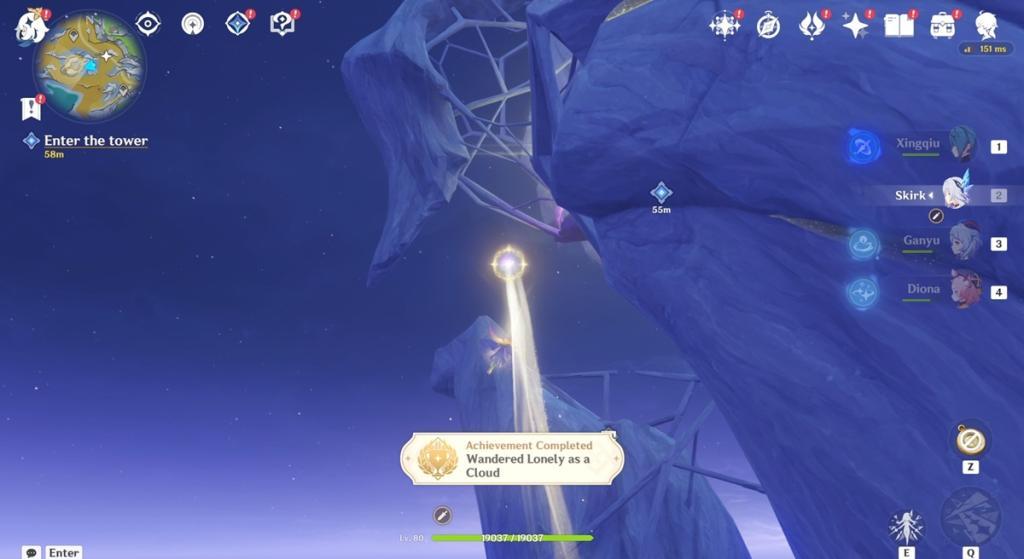
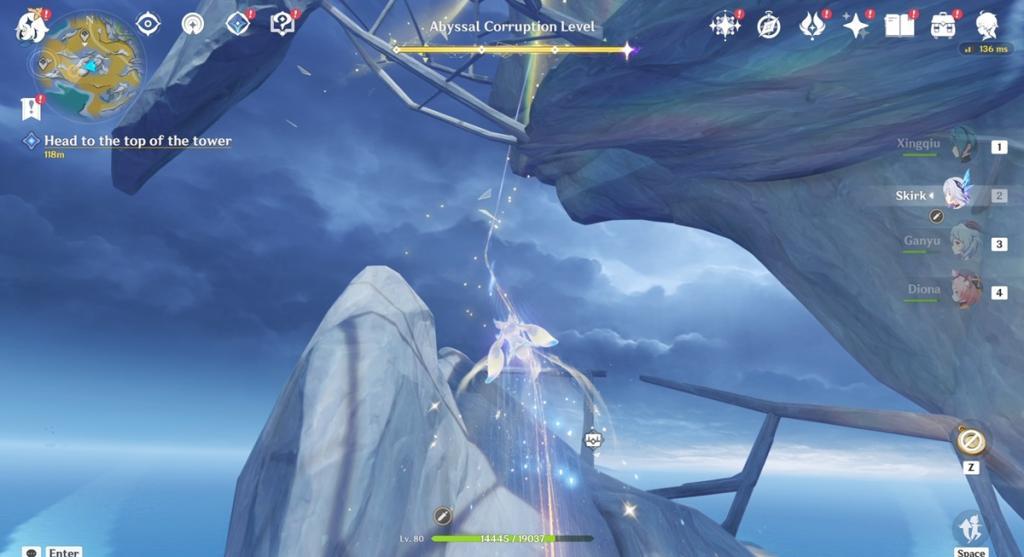
7. Head to the top of the tower
Next, use the kuuvahki path nearby to make your way outside to the tower, and use another kuuvahki path at the bottom of it to reach the very top.
8. Touch the core
Finally, touch the core at the very top to complete the Tower of Inversion quest in Genshin Impact. Now you will have another discussion with Alia where more lore will be revealed about Nod-Krai’s history and the Lightkeeper’s origin story.
Where is the Pillar of Embla entrance located
The Pillar of Embla “entrance” is not a door on the tower itself; you reach it from the surrounding area in Wavechaser Plain, Nod-Krai.
World map location
-
The Pillar of Embla is a sub-area of Wavechaser Plain in the Nod-Krai region, very close to the local Statue of the New Moon (the main Statue in Wavechaser Plain, not a Statue of Seven).
-
From that Statue, head west following the Tower of Inversion quest navigation and you will see the huge tower on the shoreline; entering this sub-area shows “Pillar of Embla” on-screen.
How to actually get inside
-
Stand near the base of the tower on the shore side: a Kuuhenki on the ground will be surrounded by enemies; defeat them to spawn a Cottonspring Flower.
-
Use the Cottonspring Flower as a jumping “elevator” to launch yourself up to the mid-section opening of the tower; that opening is effectively the “entrance” to the Pillar of Embla interior.
How to reach the Pillar of Embla from the Statue of the New Moon
From the Wavechaser Plain Statue of the New Moon, the Pillar of Embla is directly to the west and slightly toward the shoreline in Nod-Krai.
Step-by-step path
-
Teleport to the Wavechaser Plain Statue of the New Moon in Nod-Krai. The statue icon is just inland from the western coast of the region.
-
Face west and follow the main path toward the sea; keep going until the terrain opens up and a huge broken tower comes into view on the coast. Entering this area will show the “Pillar of Embla” sub-area name on your screen.