Shards are the key to progressing faster in Prospecting on Roblox, but many players overlook how to earn and spend them wisely. Knowing the right methods can turn this in-game currency into a steady advantage that speeds up your mining success and rare find rate.
This special currency lets you buy a couple of useful items that help upgrade your stats and boost your efficiency in several ways. In this guide, we will break down how to get Shards in Prospecting and where to use them.
What Are Shards in Prospecting?
Shards in Prospecting are a special in-game currency used to trade, upgrade tools, and purchase rare items. Players earn them by mining ores, completing tasks, or exchanging materials during gameplay. Each shard holds value that supports progress and customization, making them a key part of improving your gear and boosting profits across mining activities.
Before we get into the specifics, let’s talk about what Shards actually are. When you start playing Prospecting, you will notice a pink crystal icon above your money counter on the bottom right. The number beside the crystal is your Shard count.
As you collect more Shards during your journey, the number goes up in real time, letting you keep track of how many you have accumulated. You can then use the Shards to unlock more equipment slots, buy totems, and more, which we have explained below.

How to Get Shards in Prospecting
Shards in Prospecting can be obtained through mining different ore deposits, completing daily challenges, and trading with other players. Higher-tier mines often drop rarer shard types, which can be used for tool upgrades or exchanged for in-game currency. Participating in limited-time events and exploring new areas also gives players chances to earn extra shards. Consistent mining sessions and smart trading are the best ways to build a strong shard collection.
There are a few ways to obtain Shards in Prospecting, but keep in mind, there is no way to purchase them. This makes them even more valuable. That said, here are two easy ways to get Shards in the game:
1. Small Chance to Get Shards by Digging
You can earn Shards from regular digging once in a while. It’s random, so don’t count on getting a Shard every time you sift through sand in water. However, your chances go up when you dig Epic or higher rarity minerals, making deeper mining more rewarding.
So, make sure you are using better Prospecting pans and pray to the RNG Gods for Shards. If you’re rich enough, place the Sluices for a better chance of collecting Shards while farming minerals.
2. Complete NPC Quests to Gain Shards
Besides digging, one of the best ways to earn a bunch of Shards is by completing Prospecting NPC quests. Each quest gives you a good number of Shards, making it way more efficient than random digging and sifting sand.

If you’re just starting out, make sure to finish all the tutorial quests from John in the Rubble Creek Sands area. It’s a simple way to get an early bump in Shard count. Sadly, you don’t get any Shards from Prospecting codes, but they do give you some cash to help you get off the ground.
Best Uses of Shards in Prospecting
Shards are best used to upgrade tools, trade with other players, and speed up progress in Prospecting. Higher-tier shards can increase mining power, making it easier to gather valuable materials faster. Some players save rare shards for crafting exclusive items or exchanging them for better rewards. Using shards wisely can greatly improve your earning potential and help you advance through the game’s stages more quickly.
Shards have multiple uses that can seriously boost your farming potential. Here are all the ways you can spend Shards in Prospecting to get the most out of your grind:
1. Buy Totems
Along with unlocking ring slots, Shards can also be used to buy powerful totems in Prospecting, and they are amazing. There are two totems in the game: the Luck Totem (2x Luck) for 300 Shards and the Strength Totem (2x Dig Speed) for 180 Shards.
Each totem lasts for 1800 seconds (or 30 minutes) and provides a temporary boost to your stats.
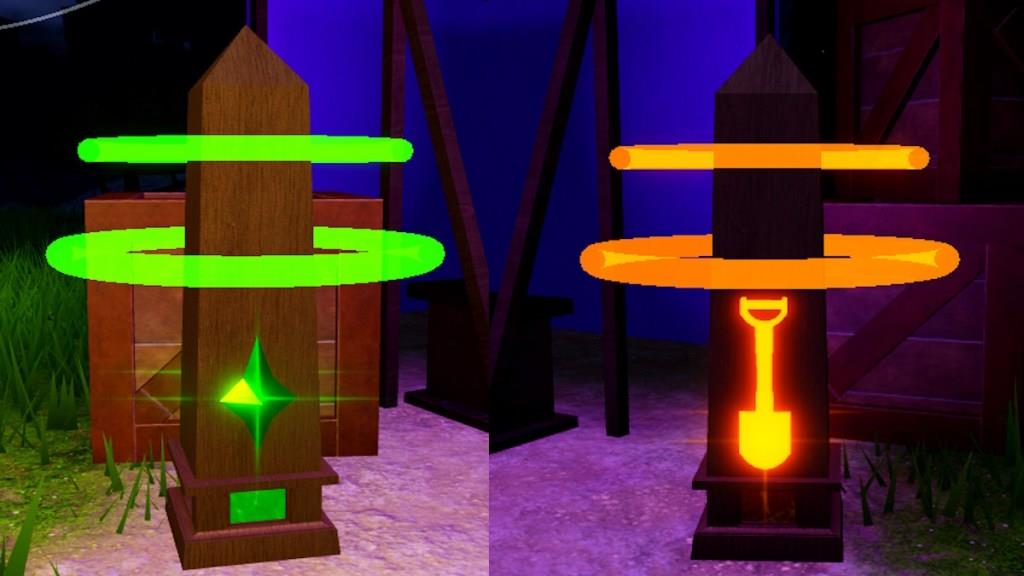
To get the most out of them, it’s best to use them during a Meteor Shower event, where rare minerals and modifiers are more likely to appear. This combo can give your farming speed and rewards a massive boost.
Also Read: Roblox Prospecting Enchant Guide: All Enchants and How to Enchant Pans
2. Unlock Ring Slots
The first thing you should spend your Shards on is unlocking Ring Slots in the Prospector’s Kit. There are four slots in total, and each one costs Shards to unlock. These slots let you equip crafted rings, which give powerful stat boosts depending on what you craft.
You can check Prospecting crafting recipes and choose the ones that fit your playstyle. Whether you want more luck, faster digging, or modified minerals, more ring slots will increase your chances.

3. Buy Potions
If you are looking for even more stat boosts, potions are another great way to spend your Shards in Prospecting. Here are the three potion options available in Prospecting:
- Merchant’s Potion: 200 Shards
- Greater Luck Potion: 30 Shards
- Greater Capacity Potion: 20 Shards
The Merchant’s Potion gives you a whopping 100% sell boost, letting you earn double the cash from selling minerals. On the other hand, the Greater Luck Potion boosts the luck stat by 10, while the Greater Capacity Potion increases your mineral carrying capacity in a pan by 50.
All potions last for 1200 seconds (or 20 minutes), so be sure to use them during longer farming sessions or special events.

Best ways to farm shards during meteor showers
During meteor showers, the most efficient way to farm Shards in Prospecting is to dig non-stop in high-value areas while stacking every luck and speed boost you have (totems, potions, and best pans/sluices). Planning your loadout and position before the event starts matters as much as the actual digging.
Prep Before the Meteor Starts
-
Equip the highest tier pan and best sluices you own (for example, Aurora or similar endgame pans) to maximize both luck and sifting speed.
-
Stock up on luck-boosting potions and place luck or mining totems in advance so you can activate them the moment the meteor event begins.
-
Clear your inventory and position yourself in a dense, profitable dig area so you are already farming when the shower triggers.
During the Meteor Shower
-
Keep digging continuously in water or sand instead of roaming; the base Shard drop chance and rare mineral rates are significantly higher during the event.
-
Stay inside your totem radius and under active potion effects so every dig roll has stacked luck, which increases both mineral rarity and Shard drops.
-
Focus on deeper or higher-rarity nodes when possible, since Epic+ minerals have better odds to roll Shards as bonus rewards.
Maximizing Luck and Multipliers
-
Combine meteor showers with double luck or similar global modifiers when available; these stack with your own gear, totems, and potions for much better returns.
-
Use ring slots (unlocked with previous Shards) for luck and dig-speed rings to further raise your effective rolls per minute.
-
Coordinate with friends so multiple totems overlap and everyone digs constantly instead of idling or selling mid-event.
Extra Shard Sources During Events
-
Open saved geodes and turn in completed quests during or right after meteor events, since you are already in “farm mode” and these can award additional Shards on top of your digging.
-
Farm any event-specific nodes or modifiers (like flare zones or special meteor tiles) that spawn with the shower, as these often have boosted rarity and better Shard chances.
-
Use the event to quickly fill collection milestones, which sometimes grant bonus Shards when you discover new minerals.
Mistakes to Avoid
-
Swapping locations too often instead of committing to one rich area, which wastes the limited meteor time and lowers total digs per event.
-
Forgetting to refresh potions/totems midway, causing you to dig with no active boosts when Shard RNG is best.
-
Spending the whole meteor selling or managing inventory; offload and organize before and after so the event time is pure digging.
best gear for shard farming during meteor showers in Prospecting
The best gear setup for shard farming during meteor showers in Prospecting prioritizes maximum luck, dig speed, and sifting efficiency to capitalize on the event’s boosted drop rates for rare minerals and shards. Top players stack endgame accessories and tools that synergize with temporary boosts like potions and totems.
Optimal Rings (8 Total Slots)
-
4x Six-Star Vortex Rings: Provide +155 luck, +90 dig strength, +325 capacity, and +11 shake strength each-core for high-volume, high-rarity digs.
-
4x Six-Star Mythil Rings: Add massive luck stacking (up to thousands total with perfect reforges) and capacity to handle meteor-spawned large nodes.
-
Unlock all ring slots first with shards for this setup, as it turns meteor events into mythic/shard machines.
Best Pendant and Preserver
-
Frost Horn Pendant: Boosts luck and speed multipliers, essential for chaining high-rarity rolls during the 20-minute shower window.
-
Cryogenic Preserver: Maintains zero modifiers on gear while preserving luck gains, preventing bad RNG dilution.
Pans, Sluices, and Shovels
-
Aurora Pan (or highest tier available): Highest base luck for shard drops; meteor events amplify its RNG potential.
-
Max-Upgraded Sluices: Increase sifting speed to process more sand quickly, turning luck into actual shard/mineral output.
-
Reinforced or higher-toughness Shovel: Matches deep, tough meteor nodes without breakage (e.g., for Fortune River Delta toughness 3+).
Boosters to Activate
-
Luck Totems: Place before the shower starts; stay in radius for 30-minute coverage on shard chances.
-
Luck Potions (Greater tier): Sip at event start for 20-minute +luck; refresh if needed for non-stop uptime.
-
Double Luck Events: Time your session if global modifiers overlap for exponential shard gains.
Quick Loadout Summary
| Slot/Item | Recommended Gear | Key Stats Boosted |
|---|---|---|
| Rings (4) | 6★ Vortex | +155 Luck, +325 Capacity |
| Rings (4) | 6★ Mythil | Extreme Luck Stacking |
| Pendant | Frost Horn | Luck & Speed |
| Preserver | Cryogenic | Zero Moddy + Luck |
| Pan | Aurora | High Base Luck |
| Sluice | Max Upgraded | Sift Speed |
| Shovel | Reinforced+ | Toughness 3+ |
Position in flare/meteor zones, dig non-stop, and avoid inventory management mid-event-this build with boosts can yield 6-8+ shards per shower.