Valentine’s Quest Chapter 2 in Dress to Impress challenges players with heart-themed trials that test style savvy and timing. Nail the runway looks, sync your poses, and claim exclusive rewards before the clock runs out.
In this simple guide, learn how to complete Dress to Impress Valentine’s Quest chapter 2.
To complete the chapter 2 quests, you must find four treasure chests. Here are all the locations of the treasure chests in DTI Valentine’s Quest chapter 2 and how to find them:
Valentine’s Quest Chapter 2 Treasure Chest 1
Treasure Chest 1 is placed near the fountain in the Valentine’s Square area. Approach it after speaking to Cupid, then interact with the chest to collect heart-shaped coins and a special accessory. Make sure to check around the benches nearby, as some hearts needed for the next task can appear close to this spot after opening the chest.
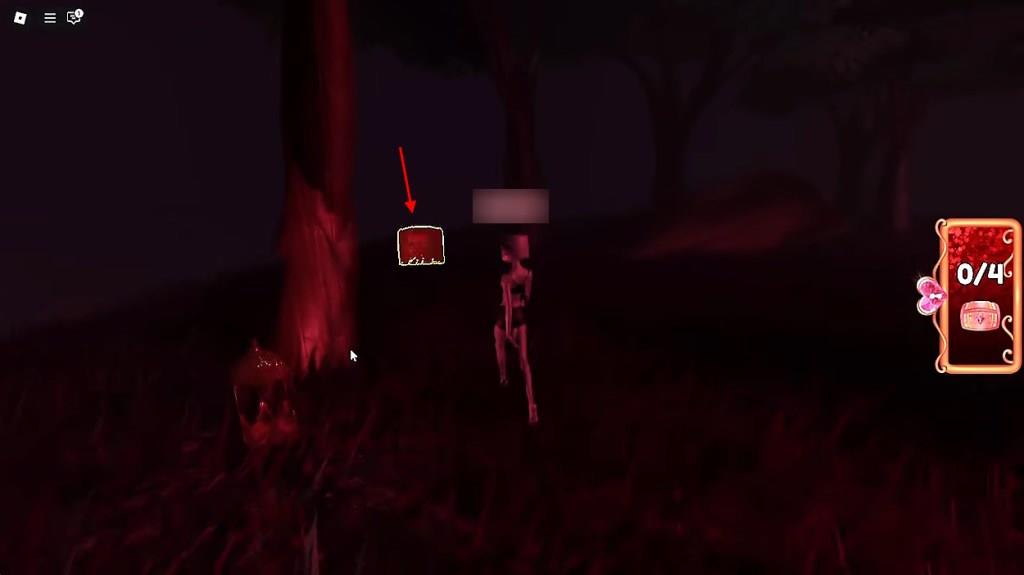
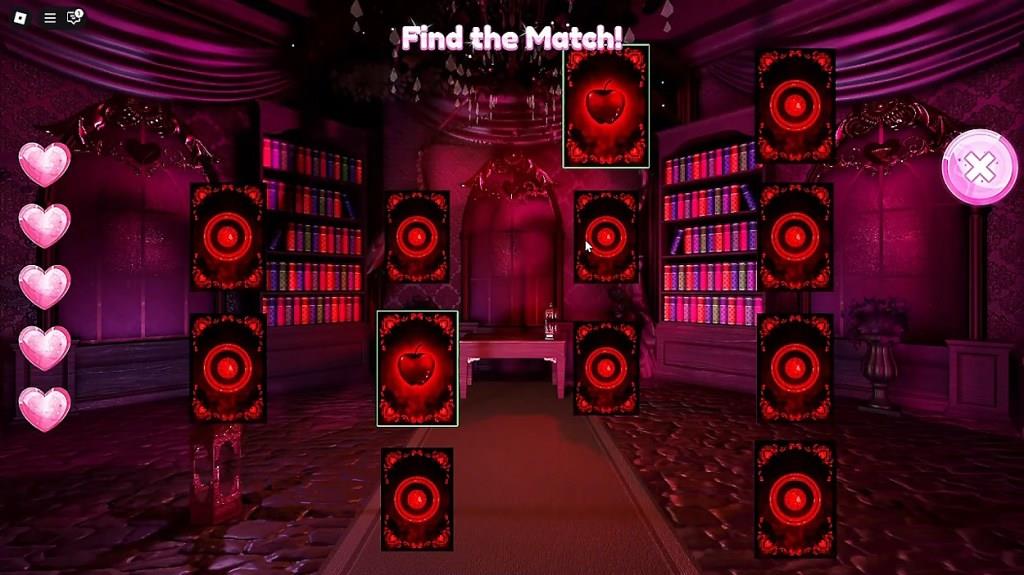
The first treasure chest for the Valentine’s Quest chapter 2 in DTI will be in a black forest. You can find it on the left side of the location you are in. Once you interact with the chest, you enter a ‘Find the Match’ game
In this game, you must match all the cards with the similar one. We suggest you click an image of it using any other device you have. You will have only five lives to complete this task so ensure you do not waste an opportunity.
Valentine’s Quest Chapter 2 Treasure Chest 2
Valentine’s Quest Chapter 2 brings you to Treasure Chest 2, where a hidden hint guides you toward the next reward as you navigate decor and obstacles with careful timing.
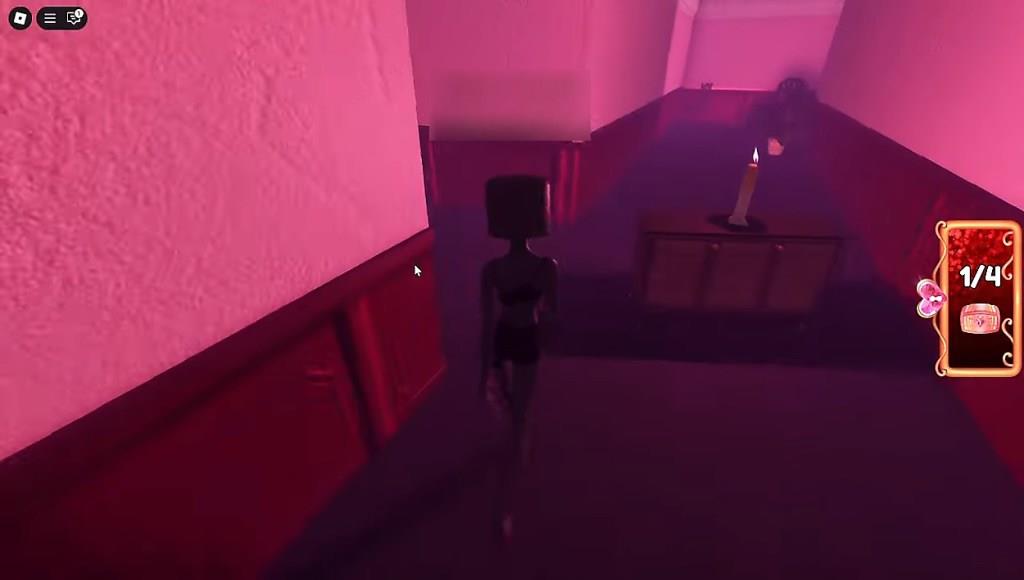
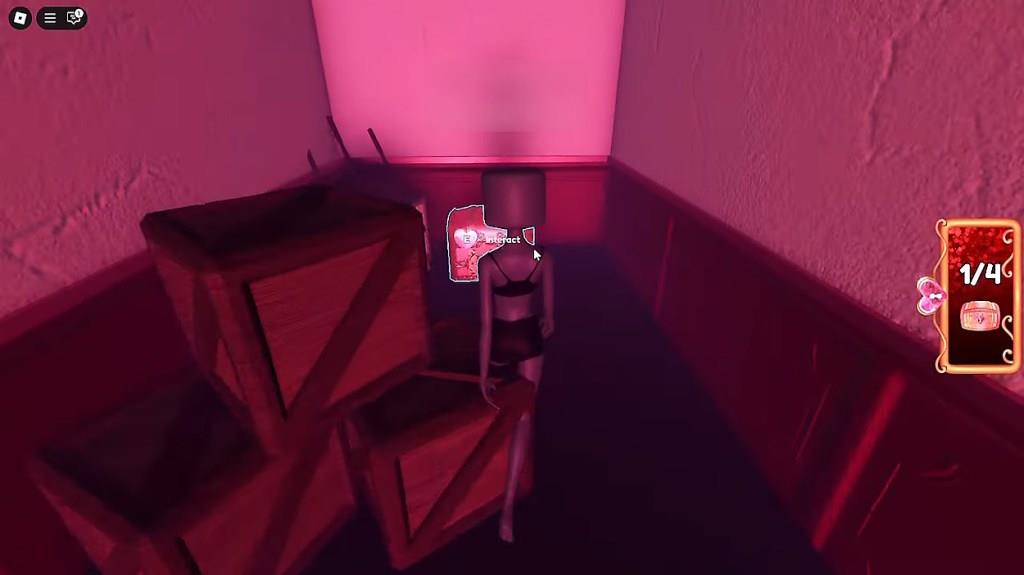
For treasure chest 2 in Valentine’s Quest chapter 2 in Dress to Impress, you must enter the hospital hallway. Here, you will find candles leading toward a path. Follow them to go through the maze and find the treasure chest. The spawn for this chest is randomized so you need to remember the path while you travel to avoid losing tracks.
Also Read: 10 Best Poses in Dress to Impress
Once you find the chest, you must complete a new game. This time, it will be a ‘Find the object’ game. For this, you must remember where a card is and flip the exact one as asked. Complete this game three times within five lives to finish the task in DTI Valentine’s Quest chapter 2.
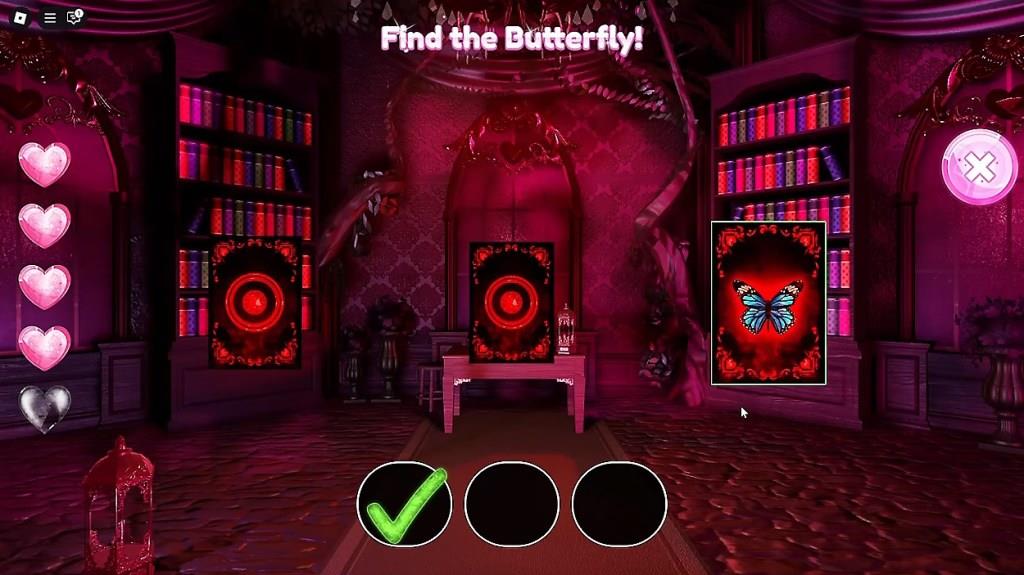
Valentine’s Quest Chapter 2 Treasure Chest 3
To open the Treasure Chest, head to the glowing beacon near the park entrance, defeat the guarding minions, then solve the final riddle to claim the prize and advance to the next stage.
After completing the second task, you will find a broken structure by the stairway. Treasure chest number three will be right behind it. After you interact with it, you must complete the same ‘Find the object’ task as treasure chest 2. Finding the object is way harder than getting free outfits from the Dress to Impress codes, so ensure you have full attention on this task.
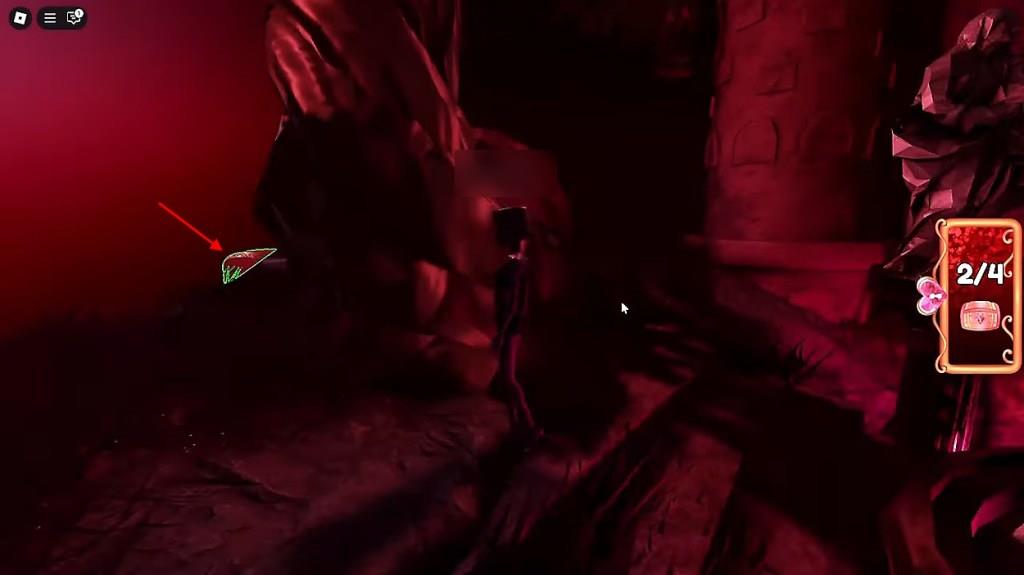
Valentine’s Quest Chapter 2 Treasure Chest 4
Treasure Chest 4 is found near the fountain area, surrounded by heart-shaped decorations and glowing pink lights. Approach the chest and interact with it to collect the hidden gift inside. If you’ve already gathered the previous chests, this one will complete your set for Chapter 2. Make sure to explore the nearby benches and pathways, as small collectibles or bonus items might appear after claiming the reward.
To find the fourth and final treasure chest of the DTI Valentine’s Quest chapter 2, you must walk into the dining room. Walk toward the opposite of the dining table and find the chest hidden behind the structure. Once you interact with it, you will get the treasure chest 1 task again. Complete the ‘Find the Match’ game to continue.
After completing the task, you will be in a room with four statues and a big screen. Here, you must play the ‘Simon Game’ to complete the treasure chest 4 task and reach the final stage of the quest. On the big screen, four colors will appear. Remember them and interact with the colors under the statues in the same order. Once you do the task three times, the door with locks will open.
You can also skip this task by entering the ‘Skip to Obby’ area right beside the door. Either this or completing the task will take you to the final stage of Dress to Impress Valentine’s Quest. Here, you must complete an Obby and turn all the glow orbs. After you complete this step, the Valentine’s Quest will end.
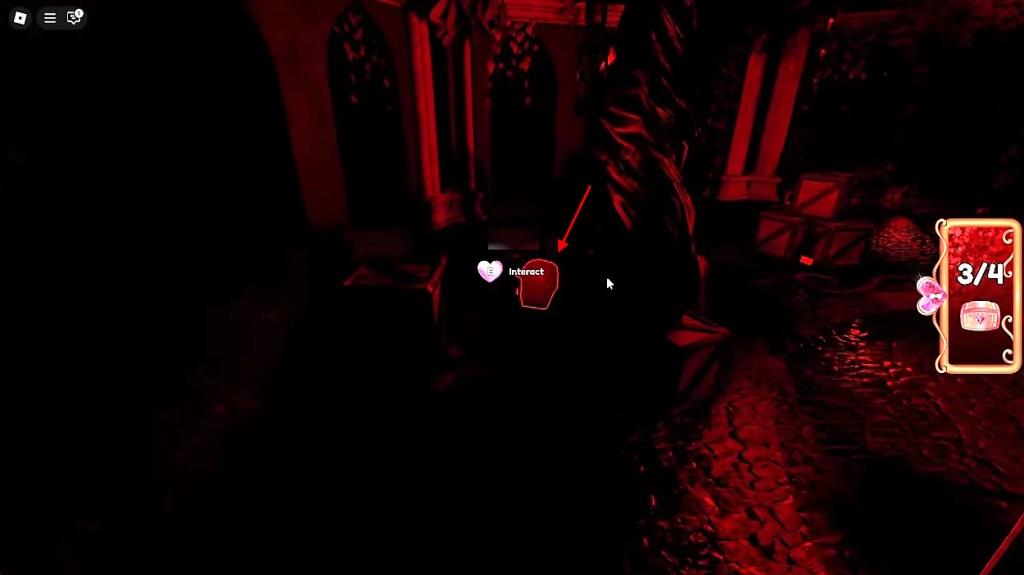
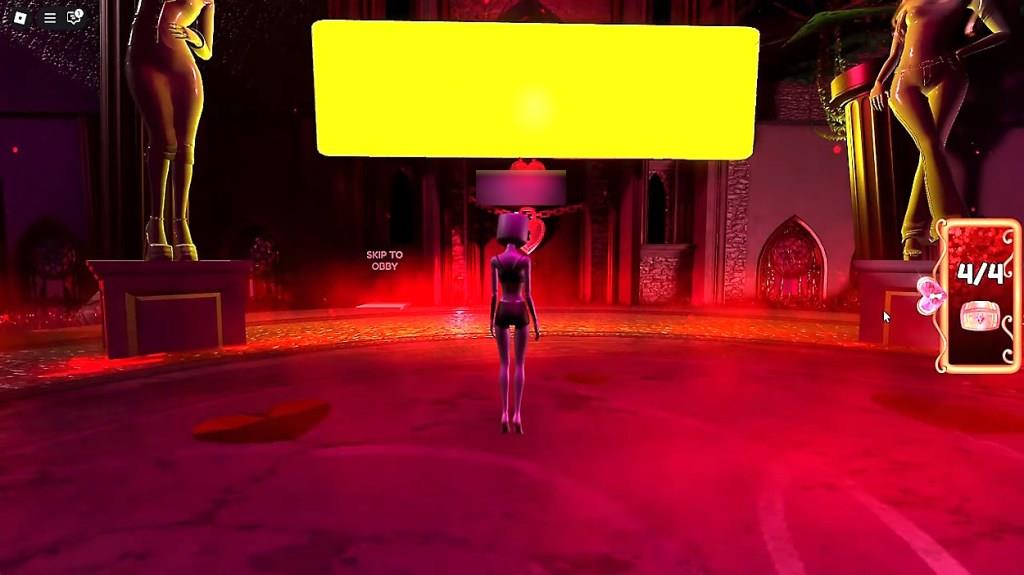
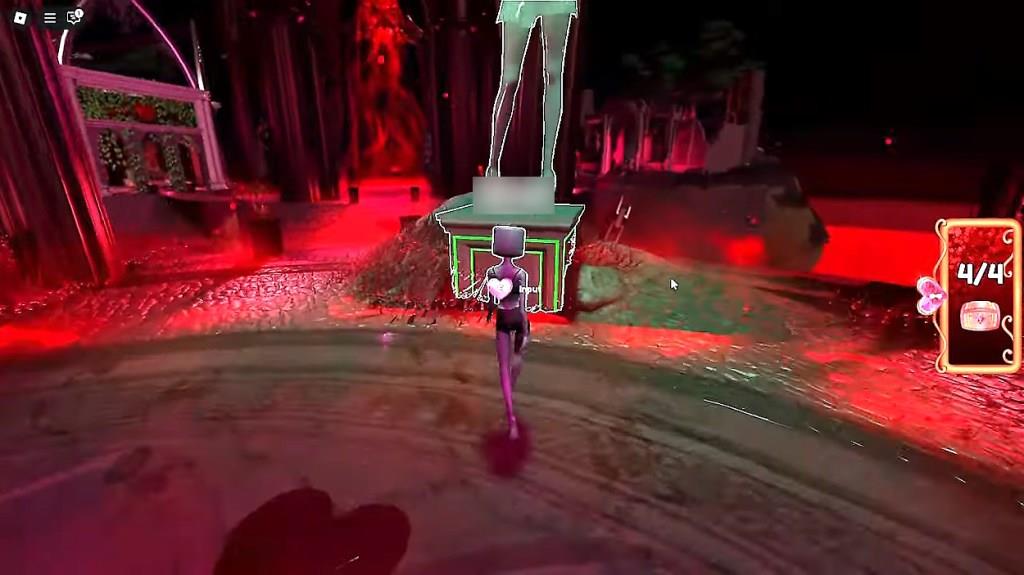
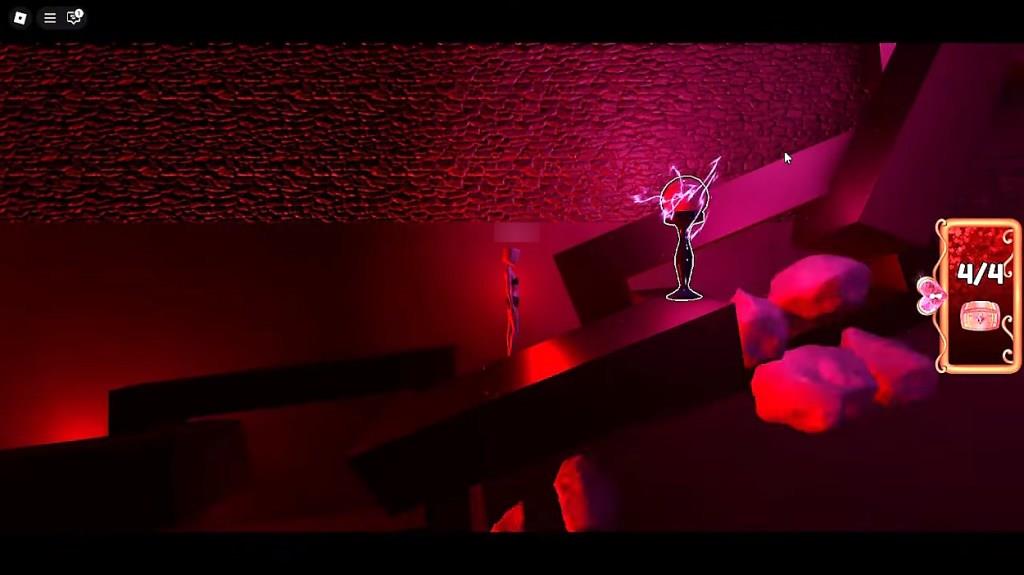
Where are the four chest locations in Chapter Two
In Valentine’s Quest Chapter 2 of Dress to Impress, the four chests always spawn in the same four areas, but the exact spot within each area can shift slightly, so you need to search the whole zone around the hints below.
Area 1 – Small pond island
-
From the starting fortress, cross the narrow rickety bridge over the lava to a small island with a pond.
-
Walk the entire edge of the island and check behind trees and bushes; the chest is usually in plain sight on this 5×5-ish island, sometimes tucked behind foliage or near the water.
Area 2 – Maze / bookshelf area
-
Head to the maze-like zone with large stone structures and bookcases.
-
Search corners, behind tall shelves, and under/behind staircases; this chest often hides under stone stairs or in a tucked-away corner, but it will glow and be visible once you get close.
Area 3 – Decrepit kingdom / ruins
-
Go to the ruined “decrepit kingdom” section with broken stone buildings and steps.
-
Check under stone staircases, beside broken walls, and around pillars; players frequently find this chest under the main set of stone stairs or directly beside them.
Area 4 – Far side by creepy trees
-
From the fortress, take the path that leads farther left around the outer edge toward a darker area with twisted or “creepy” trees.
-
Follow the path until the end and look down over the edge or behind trees and rocks; the final chest is usually slightly below the main path or tucked just off the path, glowing so you can spot it when you look down.
If a chest is missing from one of these spots, keep circling that area-chests can move a bit but will always be in these four general regions in Chapter Two.
Show a map with the four chest spawn zones in Chapter Two
No static map image exists for the four chest spawn zones in Dress to Impress Valentine’s Quest Chapter 2, as the game’s layout relies on visual navigation within Roblox rather than external diagrams.
Text Map Overview
Visualize the central red fortress as your starting point amid lava islands connected by bridges. Chests spawn in fixed zones radiating outward:
| Zone | Direction from Fortress | Key Landmarks | Search Tip |
|---|---|---|---|
| 1: Pond Island | Straight ahead via narrow bridge | Small pond, bushes/trees | Circle entire edge; behind foliage near water |
| 2: Maze Area | Rightward bridge/path | Stone maze, tall bookshelves | Corners, under/behind stairs |
| 3: Ruins | Opposite right, via ruins path | Broken buildings, stone steps | Under main stairs or by pillars |
| 4: Creepy Trees | Far left edge path | Twisted dark trees, rocky drop | Look down off path end; behind trees |
Navigation Path Sketch
text [Zone 4: Creepy Trees] ^ | (outer left path) [Zone 2: Maze] – FORTRESS – [Zone 3: Ruins] ^ ^ | (right bridge) (ruins path) [Zone 1: Pond Island] <- (main ahead bridge)
Follow bridges counterclockwise from spawn; glowing chests reveal themselves when nearby. This layout matches player guides and video walkthroughs.
