A splash of mystery paints Fontaine in vibrant hues as the Legendary Color quest chain arrives in Genshin Impact 5.2. Hidden clues, curious alchemical secrets, and a chase through dazzling locales await those eager to piece together its artistic puzzle.
Legendary Color is Act II of the Memories Flowing with Color quest line, the Tribal Chronicles of Masters of the Night Wind. Here is a step-by-step guide on how to complete the Legendary Color quest in Genshin Impact.
Part 1: Complete Escape the Sealed Room Quest
To complete the Escape the Sealed Room quest, examine every interactive object in the chamber and pay close attention to glowing clues on the walls. Move blocks to reveal hidden switches, then use your character’s elemental skills to activate the correct mechanisms in sequence. Solving the mural puzzle near the door will deactivate the barrier, allowing you to exit and proceed to the next stage of the Legendary Color quest chain.
First, you will need to complete the finish Escape the Sealed Room quest, to unlock the Legendary Color quest. Both are part of the same quest chain. This quest is fairly tricky and acts as a tutorial for the Iktomisaur’s special Elemental Sight. Check our guide for the Escape the Sealed Room quest and move to the next part.
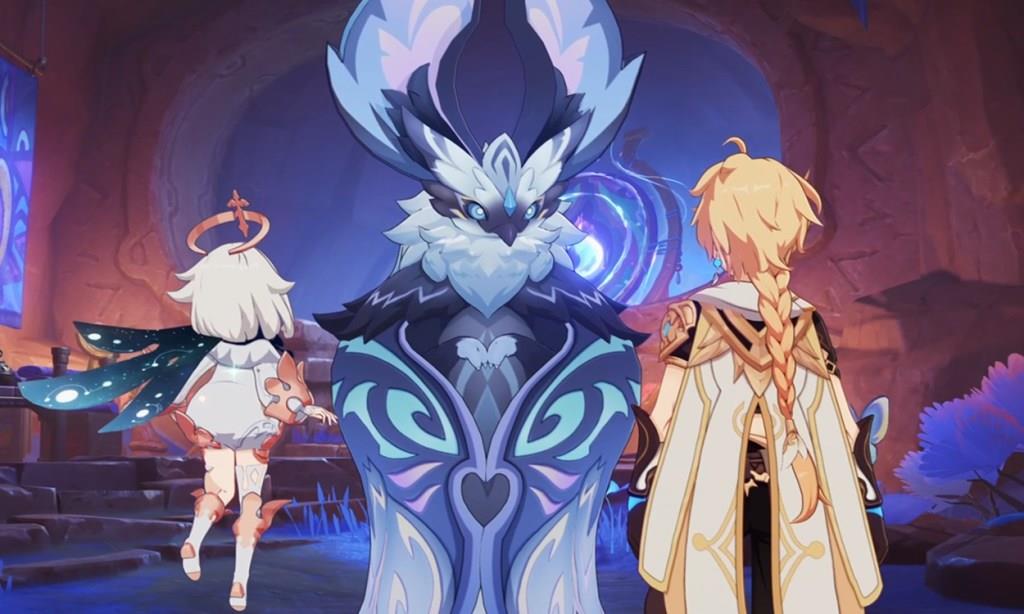
Part 2: Start The Legendary Color Quest / Go Into the Fog’s Depth
The quest begins after speaking with the event NPC near the fog-covered coastline. As you move through the mist, keep an eye out for glowing markers that indicate safe spots and color fragments needed to progress. Some areas hide illusionary paths that only appear when you adjust the Hue Resonator with collected pigments. Defeat the elemental creatures that guard each pigment source and follow the light signals to reach the heart of the fog, where the next phase of the Legendary Color Quest awaits.
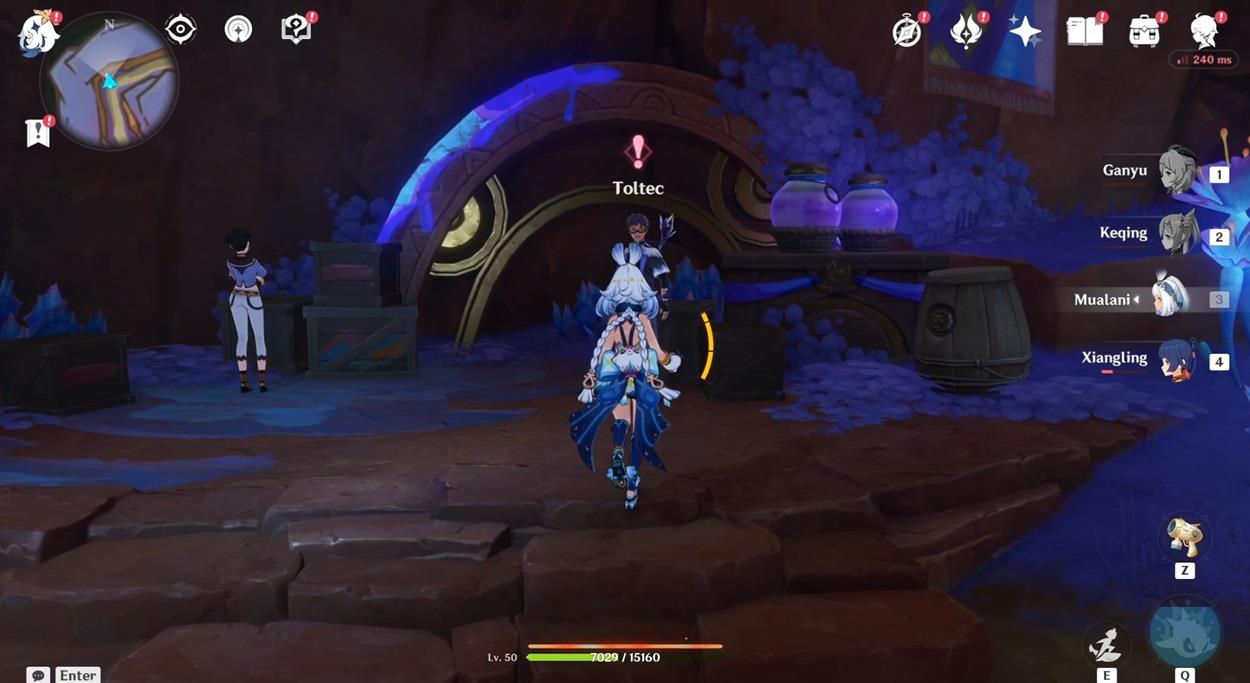
After finishing the Escape the Sealed Room Quest, you will need to start the Legendary Color quest by speaking to Toltec. After starting the quest, the sub-quest Go Into the Fog’s Depth will begin. Here you will need to head towards the Teleport Waypoint under the Flower Feather clan hill, which is also the entry point to Tenebrous Papilla boss fight. After heading to the marker, Toltec will ask you to enter and bring back the dye.
Part 3: Try to Break the Barrier
To progress through this challenge, interact with the radiant barrier and study its shifting color patterns. Each hue responds differently to elemental reactions, so experiment with Pyro, Hydro, Electro, and Cryo to weaken the field. Pay attention to the rhythm of the changes-triggering the correct sequence will cause the barrier to flicker and lose strength. Once it destabilizes completely, you’ll gain access to the hidden chamber beyond, where the next phase of the Legendary Color quest begins.
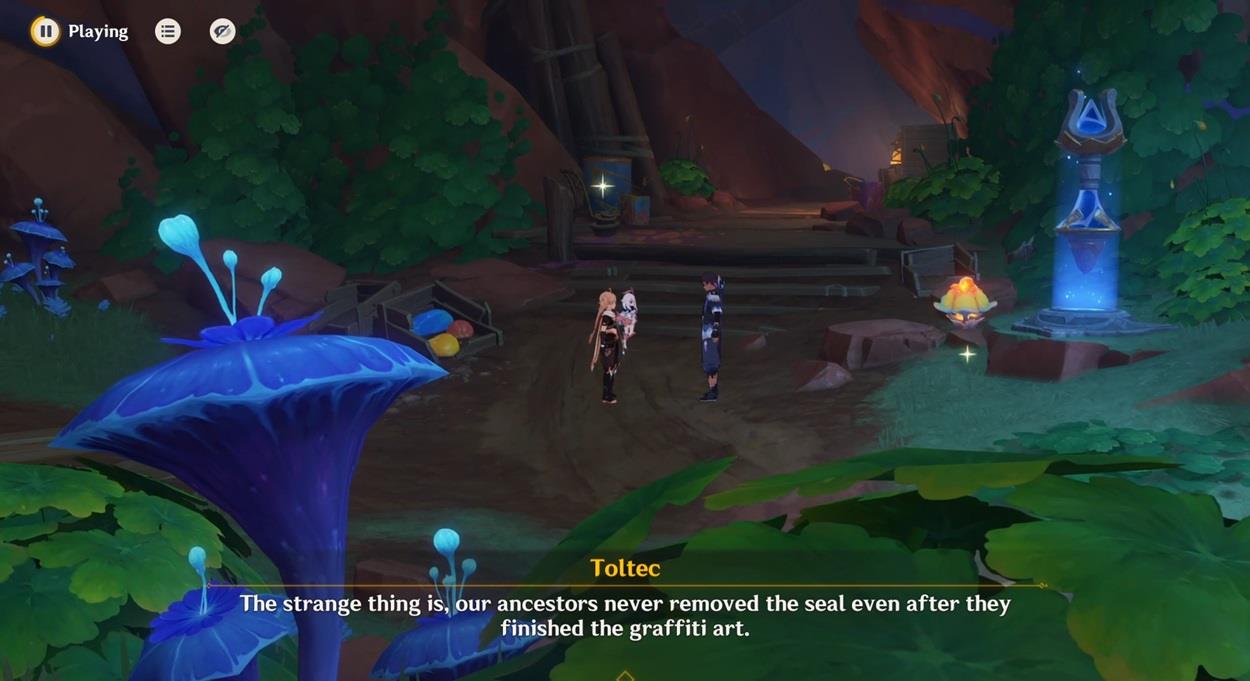
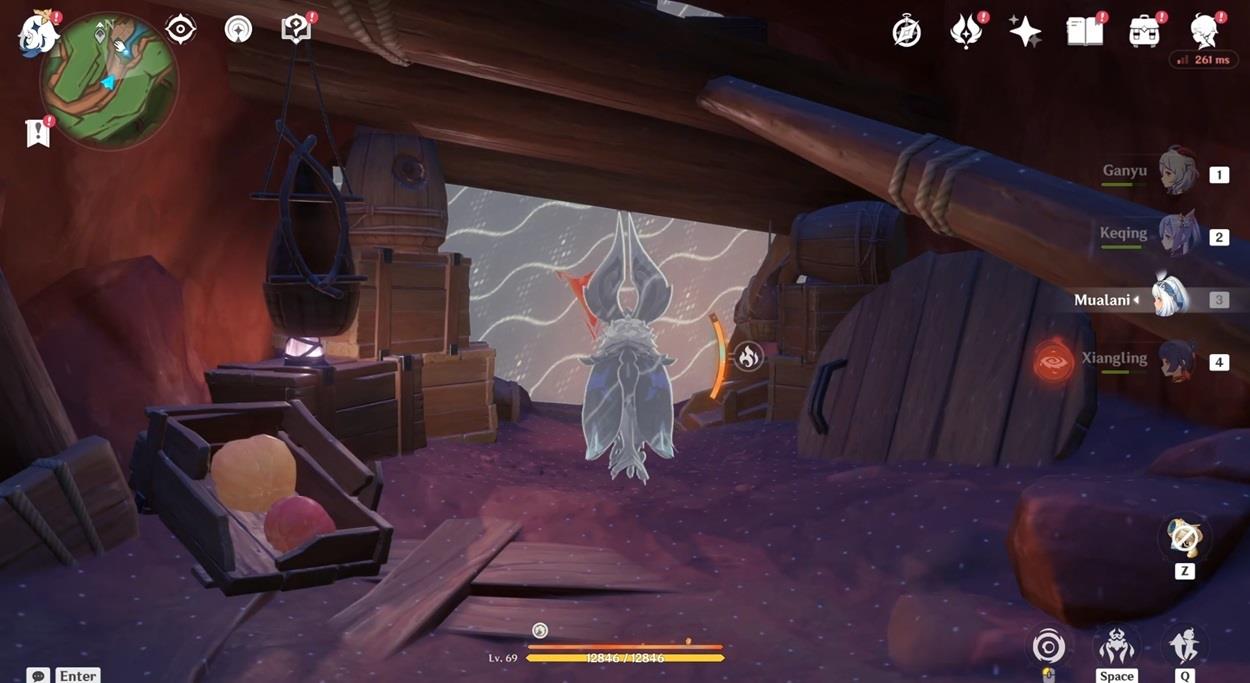
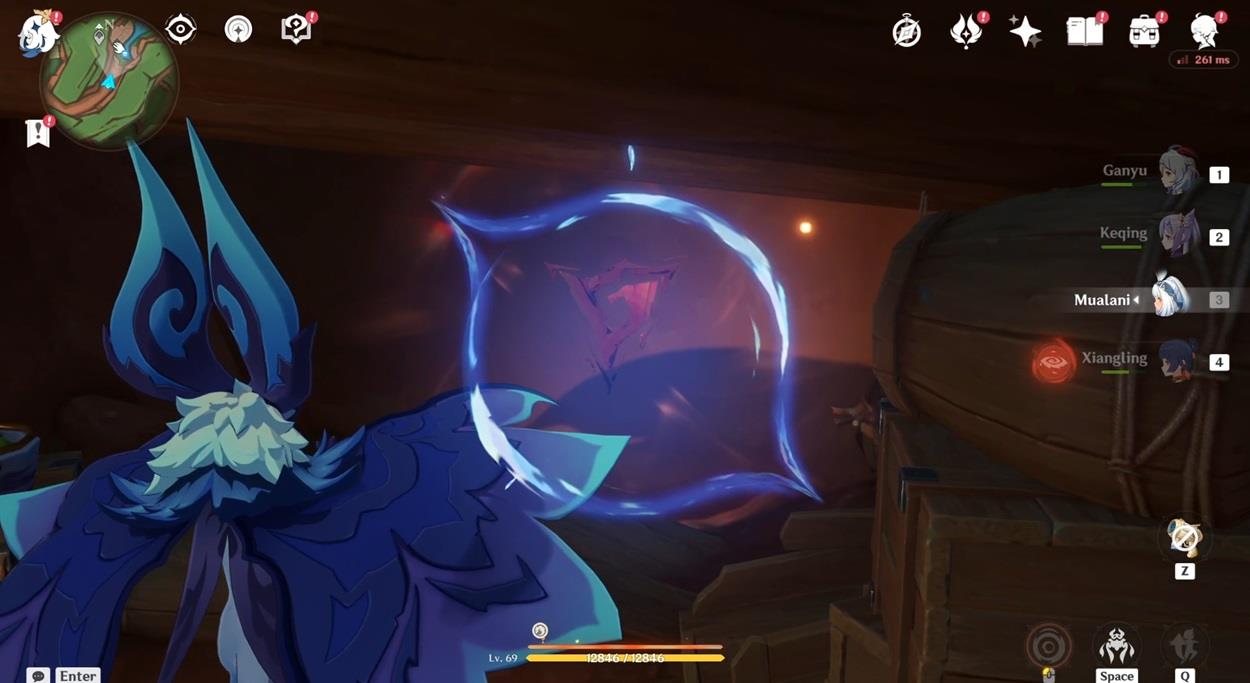
After entering the cave, the sub-quest Try to Break the Barrier will begin. Keep heading towards the farthest end of the cave and transform into Iktomisaurus on the way. After reaching the end, use Iktomisaurus’s Special Elemental sight to find the mark on the wall. After you find the mark, use the Spiritspeaker State to scan it. This will make the wall disappear, letting you enter the larger cave beyond.
Part 4: Try Using the Iktomisaurus’s Special Elemental Sight
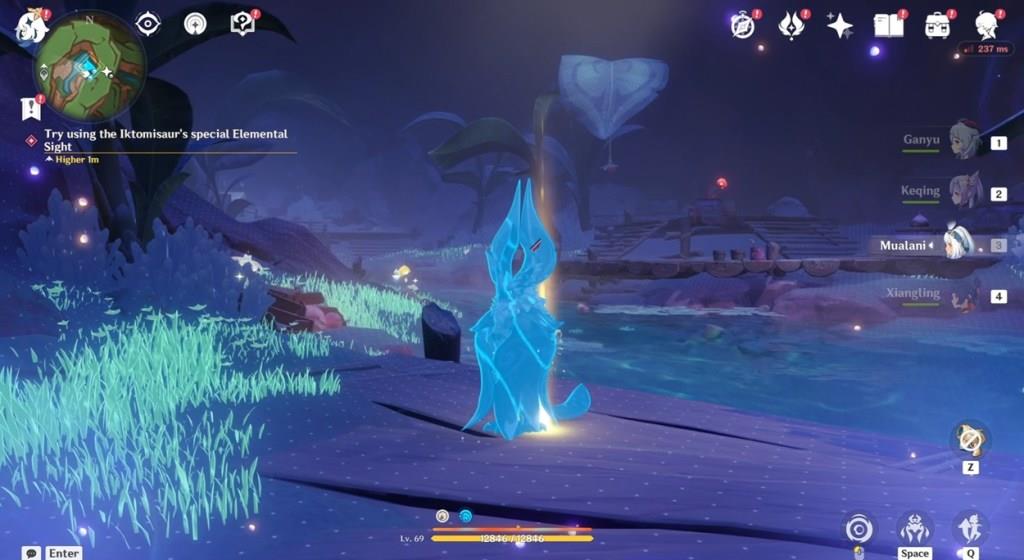
After entering the larger cave inside, you will get the sub-quest Try Using the Iktomisaurus’s Special Elemental Sight. In this sub-quest, head to the golden marked location before the wall painting, look behind towards the entire cave and use the Special Elemental Sight of Iktomisaurus to complete the objective.
Part 5: Obtain the Dye
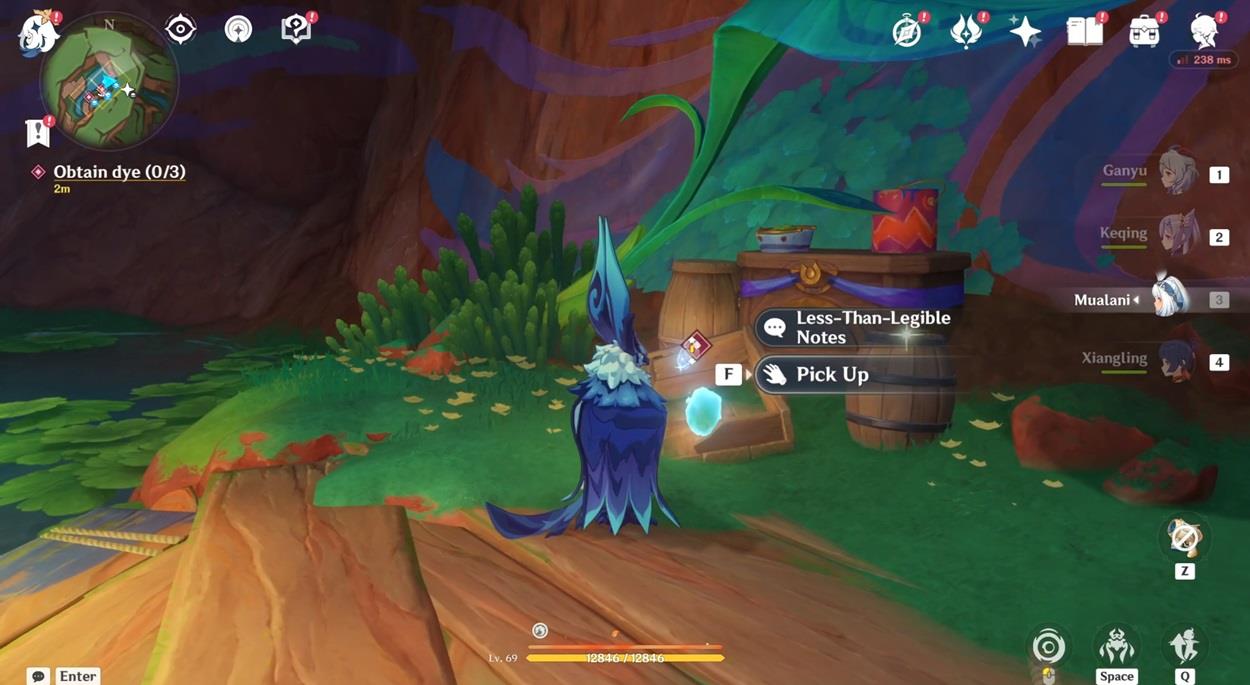
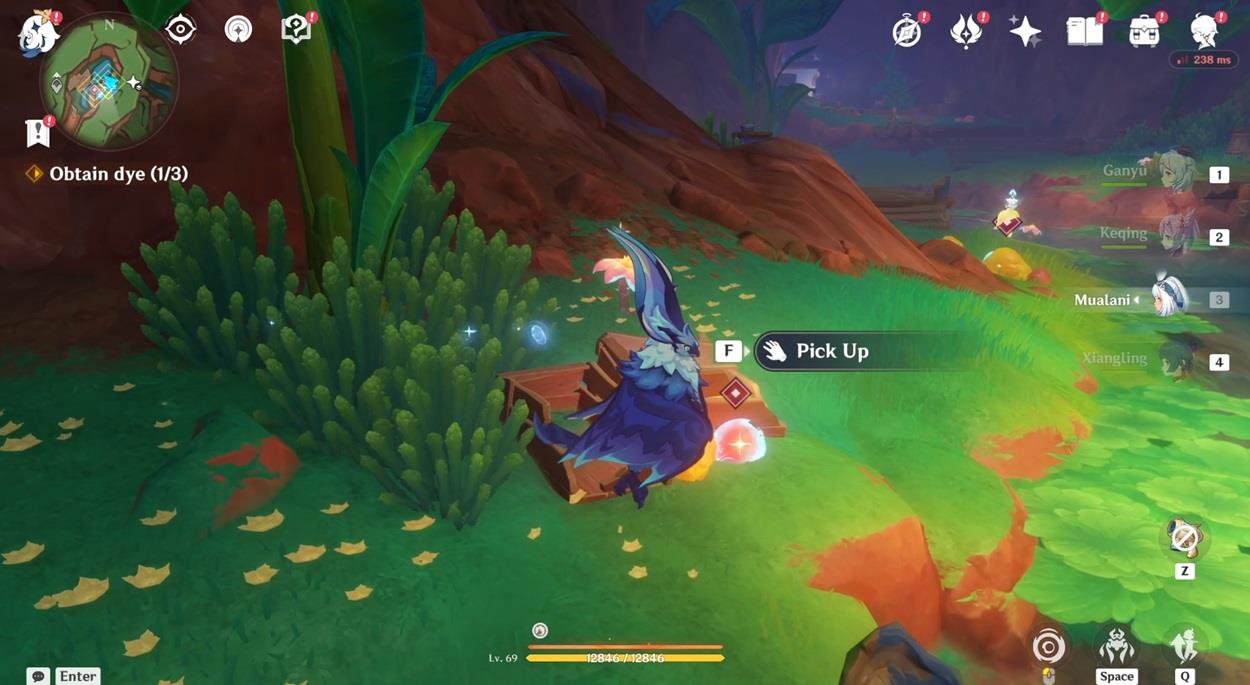
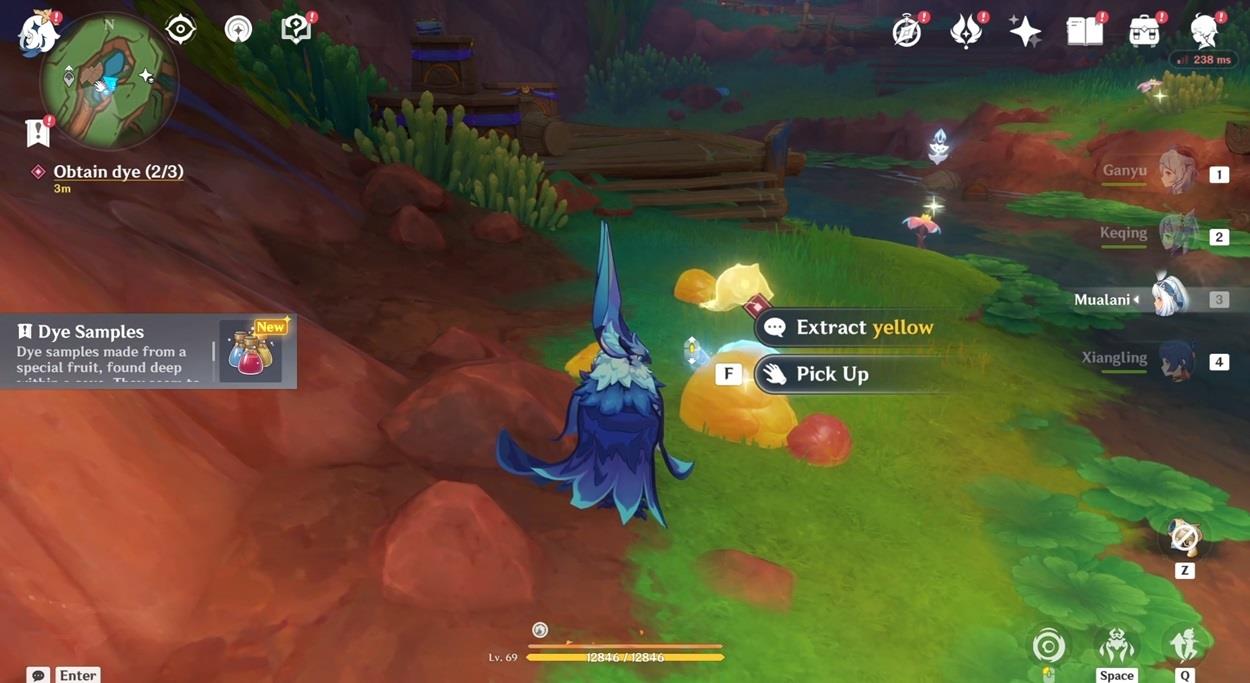
After using the Special Elemental Sight, you will be asked to Obtain the three Dyes. The three Dyes can be found around the area, all in the same line starting from the wall painting and moving towards the cave exit. After you pick up the three dyes, head outside to Toltec and speak with him to complete the objective.
Part 6: Return to the Masters of the Night Wind
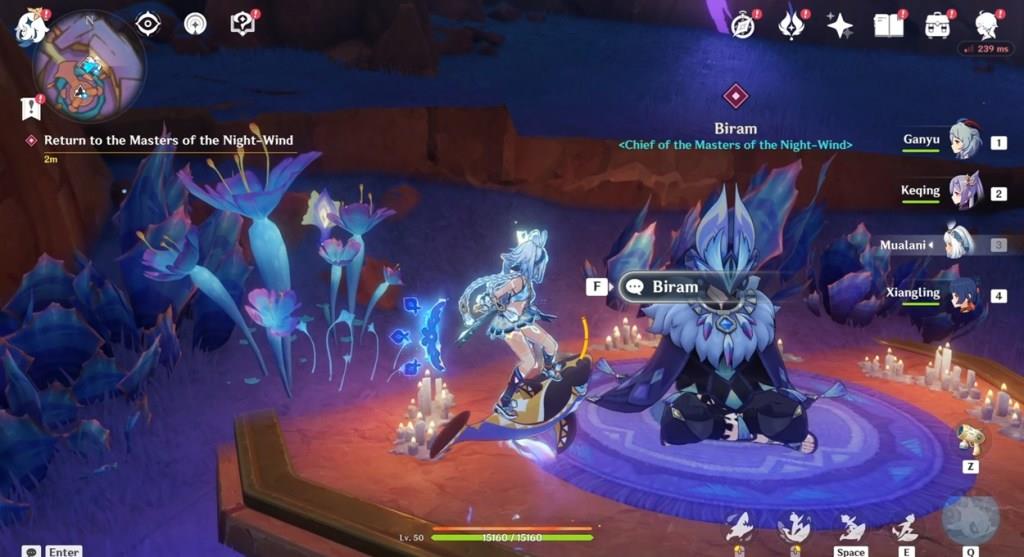
After speaking with Toltec, you will be asked to head back to the Masters of the Night Wind and submit the three obtained dyes. So, teleport back to the Masters of the Night Wind tribe, head downwards to their underground area, and look for Biram. Speak with Biram and hand over the three dyes to complete the objective.
Part 7: Enter the Chamber of Weaving/Accept Biram’s Invitation
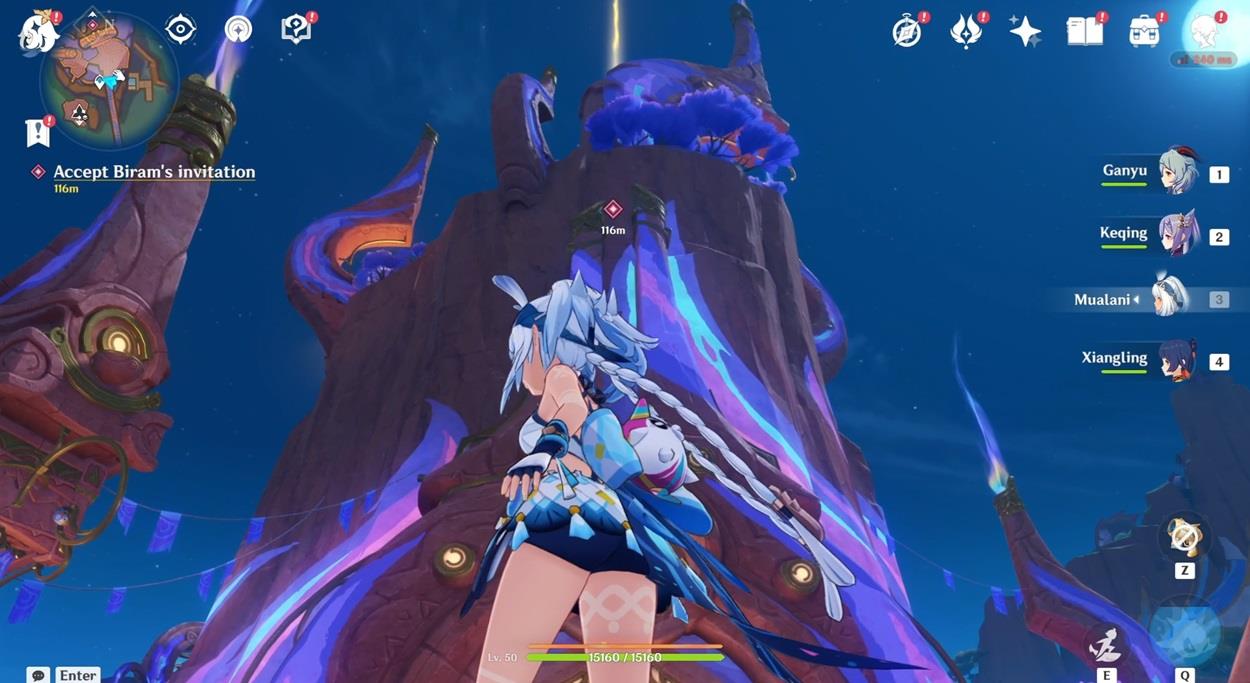
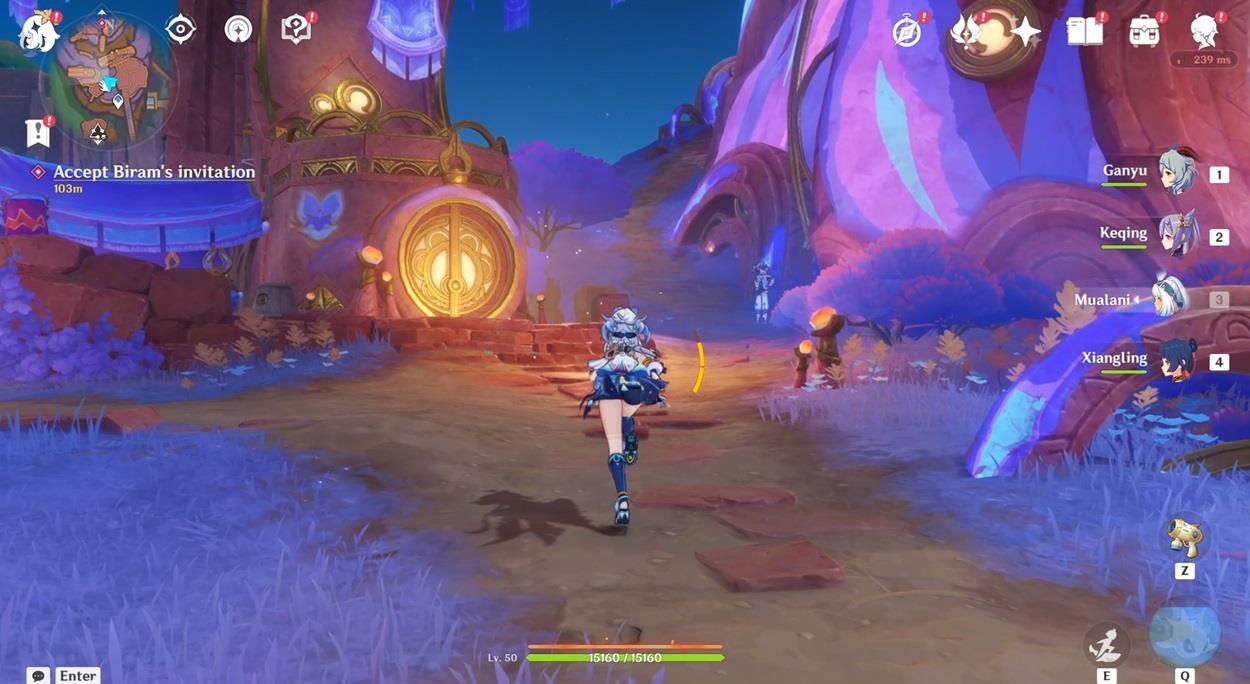
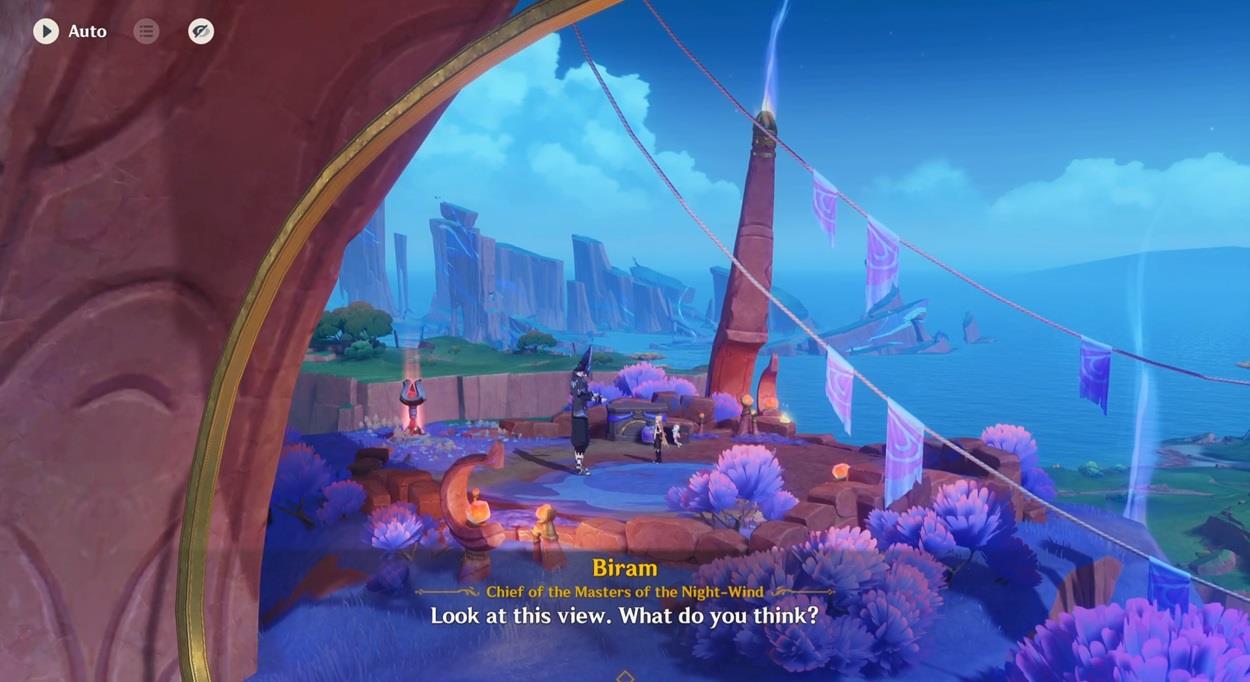
Now, Biram will ask you to follow him into the Chamber of Weaving. Head to the Chamber of Weaving to reach the same area you were in during the Escape from the Sealed Room quest. Finish the dialogue options with Biram and he will tell you to meet outside. This will start the sub-quest Accept Biram’s Invitation. To finish this objective, head to the teleport waypoint of Masters of the Night Wind, and use the path on the left side of the building. This path circles to the top, where you will find Biram waiting for you. Finish talking with Biram to complete the Legendary Color quest.
Where to find the three dyes in Legendary Color quest
In Genshin Impact 5.2’s Legendary Color quest (part of the Masters of the Night-Wind Tribal Chronicle), the three dyes appear after using the Iktomisaurus’ special Elemental Sight in the larger cave ahead of the broken barrier.
Dye Locations
They align in a straight line from the wall painting toward the cave exit, resembling Seelies once revealed.
-
Blue dye: Nearest one, located where the blue Seelie was (next to some boxes and barrels).
-
Pink dye: Across from the blue dye, positioned near or in some boxes against the wall (close to scattered items).
-
Yellow dye: Directly ahead in the line, near glowing symbols, other yellow dyes, or on the ground by the shore.
Collection Tips
Approach each glowing dye and interact when prompted to collect them all (progress shows as “Obtain dye 0/3”). If they don’t appear, guide any nearby Seelies first (blue to the left, yellow by water), then reactivate Elemental Sight from the golden-marked spot. Exit via the left path afterward to meet Toltec.
Exact locations of blue pink and yellow dye inside the cave
The three dyes in Genshin Impact 5.2’s Legendary Color quest appear in a straight line inside the large cave after activating the Iktomisaurus’ special Elemental Sight from the golden-marked spot facing the wall painting.
Blue Dye Location
Found first in the line, right next to some wooden boxes and barrels on the left side near where a blue Seelie floats or rests.
Pink Dye Location
Directly across from the blue dye, nestled among or beside a cluster of scattered boxes and items against the opposite cave wall.
Yellow Dye Location
Farthest ahead toward the cave exit/shore area, positioned on the ground near glowing symbols, water’s edge, or additional yellow markings in plain view.
