Transform Minecraft’s familiar blocks into a breathtaking visual experience with shaders that add realistic lighting, shadows, and reflections. This step-by-step guide walks you through installing Optifine and customizing your visuals for smooth, stunning gameplay.
With the right shader mod, you can adjust the shadows, sun rays, lighting, grass textures, water reflections, clouds, and much more. To help you get started, here is a step-by-step guide to installing shaders in Minecraft.
Requirements to Install Shaders in Minecraft
Before installing shaders in Minecraft, confirm you run Java Edition version 1.7 or later, as Bedrock Edition lacks native support. Install OptiFine for the specific Minecraft version you play-download it from the official site and run the .jar file to integrate it into your game directory. Allocate at least 4GB RAM in the launcher settings to handle the extra graphical load without lag. Verify your GPU meets minimum specs, like a DirectX 11-compatible card with 2GB VRAM, and update Java to the latest build. A stable internet connection helps for downloading shader packs from trusted sources like CurseForge.
Before you dive into the installation steps, ensure that your device meets a few requirements.
- You need an official, legal copy of Minecraft Java Edition since shaders are exclusive to it. The Bedrock edition game can’t run them.
- Secondly, you’ll need a compatible mod, which can be either Optifine or Iris, the two most popular options.
Shaders cannot run on vanilla Minecraft and needs a mod for support. Once you’ve installed either of them in your system, move to the next section.
How to Install Shaders in Minecraft
To install shaders in Minecraft, first download and install OptiFine, which allows the game to support shader packs. Open Minecraft with the OptiFine profile, then go to “Options” > “Video Settings” > “Shaders.” Click “Shaders Folder” to open the directory where shader files are stored. Move the downloaded shader pack (usually a ZIP file) into this folder, then return to the game and select it from the list. Apply the shader, and the new lighting and visual effects will appear in your world.
Having met all the requirements, it’s time to install the shaders and run them. The whole process involves three simple steps – installing a mod , downloading the shader pack, and running it in your game. Now, let’s go through all of them in detail.
1. Install a Compatible Mod
For running any kind of shader pack in Minecraft, a compatible mod is a must, and for that, you can either choose to install Optifine or Iris. To install them, you can follow the steps below:
- Head over to the official download site for Optifine or Iris and click the download option.
- Ensure that you download the one that matches your Minecraft version or the one you want to run your shaders on.
- Once downloaded, click on the ‘.jar‘ file to run it using Java.
- Now, install the mod in the given path (.minecraft folder), and you’re done.
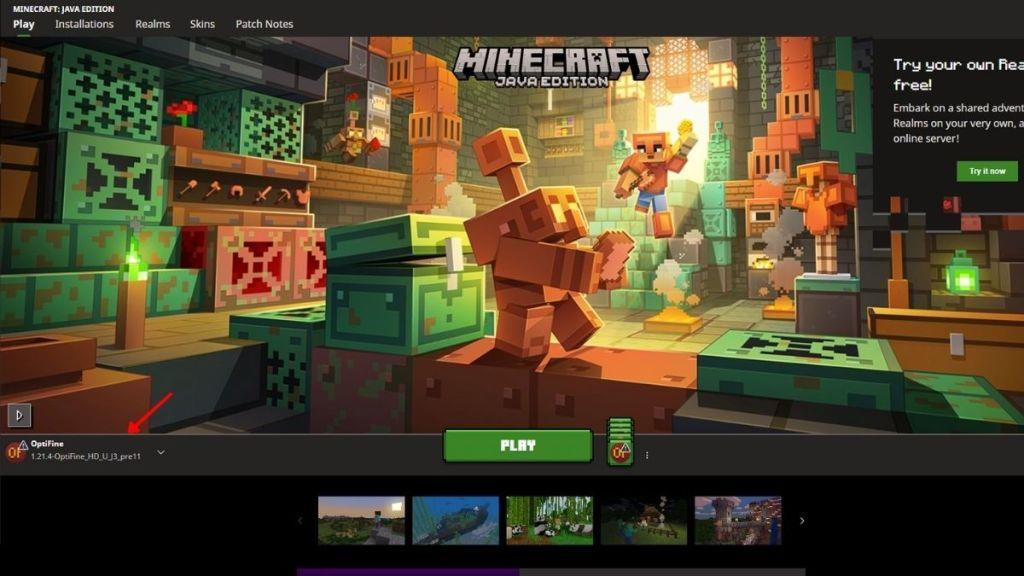
As you open up your Minecraft Launcher, you’ll notice a new installation by the name of the mod you installed. If you’re still having trouble, go through our guides on how to install Optifine and Iris in Minecraft.
Also Read: Minecraft Nautilus: How to Find, Tame, and Ride the Aquatic Mob
2. Download the Shaders Pack
The next step is to pick your favorite shader pack and download it. Have a look at some of the most popular and best shaders in Minecraft if you’re confused about what to choose. So, to download a shader pack, you can follow the steps below:
- Head over to a trusted source like Curseforge or Modrinth to look up the shader pack you want.
- Click on the shader pack and press the download option. Here, you must first select the mod and your respective Minecraft version before downloading the pack.
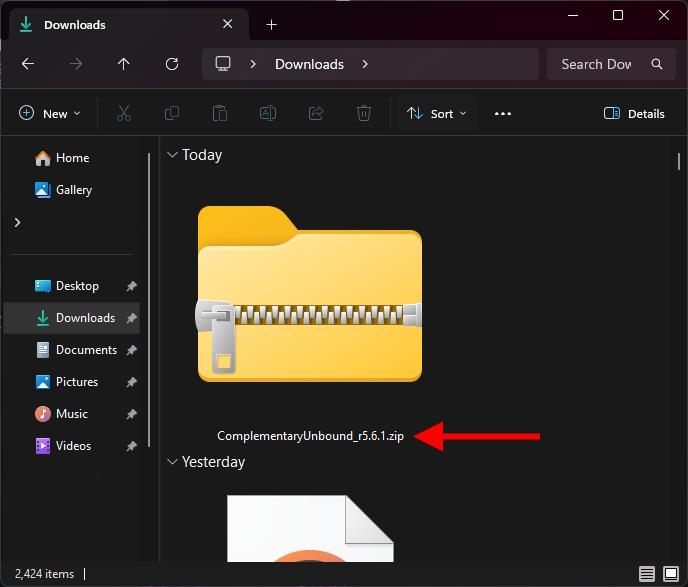
- Save the downloaded zip file in a location that you can easily access.
3. Run the Shaders Pack in Minecraft
Having installed both the mod and shader pack, it’s time to bring it all together and run it inside Minecraft. So, follow the steps below:
- Launch Minecraft using the Optifine or Iris profile you installed.
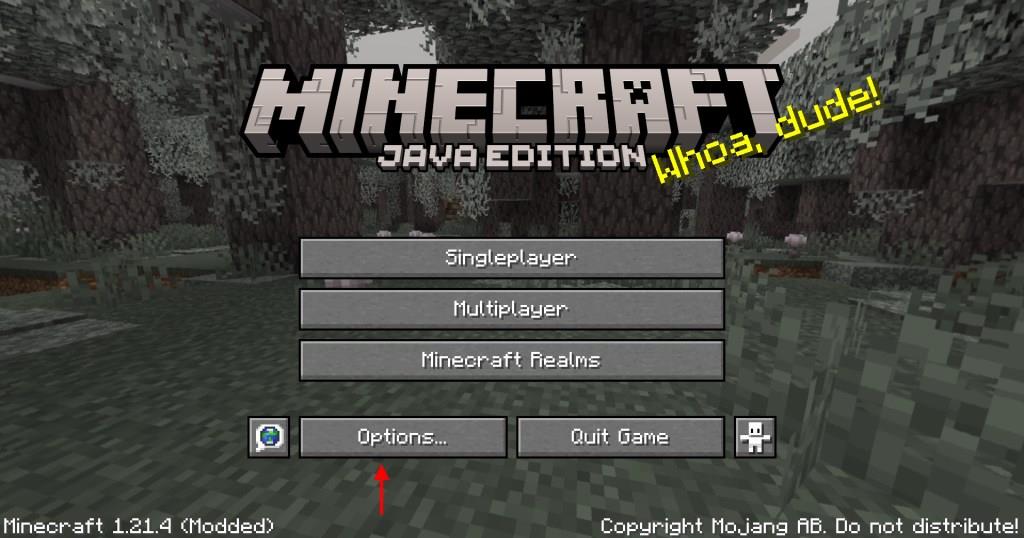
- From the main menu, go to Options, then select Video Settings.

- Click on the Shaders tab, and select the Open Shaders Folder button.
- This will open up the directory where the shader files are stored in Minecraft.
- Now, drag and drop the zip file you downloaded in the previous step to this location. Wait for a few seconds to load and reflect in Minecraft. Once done, close the shaders folder.

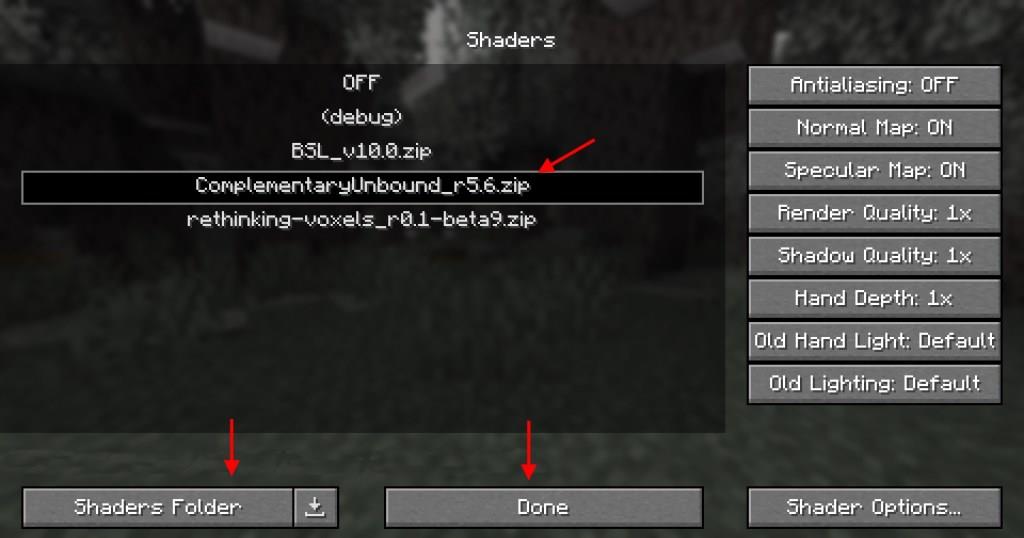
- Click the shader pack you want to run, then click the Apply or Done button.
Return to your game world, and you’ll find the graphics have completely changed. The final step is almost the same for both Optifine and Iris, except for a few UI changes in their appearance. Now, if you want to truly feel how satisfying the Minecraft graphics are with the shaders, consider going into creative mode, getting an Elytra, and flying around your world.
How to install Iris shaders for Minecraft 1.21
Installing Iris shaders enhances Minecraft 1.21 graphics with better performance than OptiFine, using the Sodium mod for optimization. This Fabric-based method requires Java and works on PC Java Edition only.
Prerequisites
-
Ensure Minecraft Launcher is updated and Java 21+ is installed (download from oracle.com if .jar files won’t open).
-
Close Minecraft before installing mods.
-
Download a shader pack (.zip, unextracted) from sites like Modrinth or CurseForge, compatible with 1.21 (e.g., Complementary Shaders).
Step 1: Download Iris Installer
Visit irisshaders.dev, select Minecraft 1.21, and download the “Universal Jar” installer.
Run the .jar file with Java; if it fails, run Jarfix tool first.
Step 2: Install Iris
In the Iris installer:
-
Select Minecraft 1.21 from the dropdown.
-
Choose Iris + Sodium (recommended for performance) or Iris only.
-
Click Install; it creates a new profile in the Minecraft Launcher.
Step 3: Launch with Iris
Open Minecraft Launcher, select the Iris & Sodium 1.21 profile under Installations, and click Play.
Step 4: Add and Activate Shaders
-
From the main menu, go to Options > Video Settings > Shader Packs (left sidebar).
-
Drag your downloaded shader .zip directly into the Shader Packs window.
-
Select the pack, click Apply; the game reloads with shaders enabled.
Tweak settings via Shader Settings button if FPS drops.
Troubleshooting
-
No shaders menu? Verify Iris profile is active and restart Launcher.
-
Poor performance? Lower render distance or shader quality; Sodium helps but needs a decent GPU.
For 1.21.1+ minor updates, check irisshaders.dev for compatible versions.
Best shader packs for Iris in Minecraft 1.21
Top Iris-compatible shader packs for Minecraft 1.21 emphasize performance with Sodium, offering stunning visuals like volumetric clouds, dynamic lighting, and realistic water. Complementary Unbound serves as the default Iris pack, while others like BSL excel in customization.
Top Recommendations
-
Super Duper Vanilla: Ranked #1 for its lightweight enhancements to vanilla style, with excellent FPS even at high render distances; ideal for mid-range PCs.
-
Voyager 2.0: Stands out for volumetric clouds and atmospheric effects; balances beauty and performance on Iris.
-
SEUS (Sonic Ether’s): Delivers cinematic lighting and shadows; great for high-end setups seeking photorealism.
-
Complementary Reimagined/Unbound: Highly customizable with vibrant colors and godrays; works flawlessly as Iris default.
-
BSL Shaders: Bright, vibrant lighting with motion blur and water reflections; top for versatility across hardware.
Performance Picks
-
MakeUp – Ultra Fast: Best for low-end PCs, maintaining 60+ FPS with subtle improvements.
-
Sildur’s Vibrant: Colorful and optimized, with lite/medium/extreme variants for any GPU.
-
Nostalgia: Retro OptiFine-style look with modern Iris tweaks; low impact.
Download from trusted sites like CurseForge or Modrinth, ensuring 1.21 compatibility, then drag .zip files into Iris’s Shader Packs menu. Test in a new world and adjust settings for your hardware.