A covert beacon in Fortnite’s chaos: master the Lock-On Assault Rifle’s targeting pulse, and you’ll turn crowded battlegrounds into a one-shot, one-click show of precision.
Keeping with this spirit, Epic Games has introduced the Lock-On Assault Rifle to Chapter 7 Season 1 with the Fortnite 39.40 update. This is the second Lock-On weapon to ever be added to Fortnite, and it is sure to wreak havoc on the Golden Coast island. Here’s everything you need to know about finding and using the Lock-On Assault Rifle in Fortnite Chapter 7 Season 1.
Where to Find the Lock-On Assault Rifle in Fortnite Chapter 7 Season 1
The Lock-On Assault Rifle can be found as ground loot, inside chests, or purchased from specific NPCs scattered across the island in Fortnite Chapter 7 Season 1. Supply drones and vaults also have a good chance of containing it, especially in higher-tier locations. Players often report consistent spawns in military-themed areas and weapon research facilities, making those great spots to search early in a match before the competition arrives.
You can easily find the Lock-On Assault Rifle in loot chests, floor loot, supply drops, and vending machines around the Fortnite Chapter 7 map. The weapon comes in multiple rarities, primarily starting from Rare (Blue) up to Legendary (Gold). Unlike Mythic weapons, you don’t need to defeat a specific boss to get your hands on it.
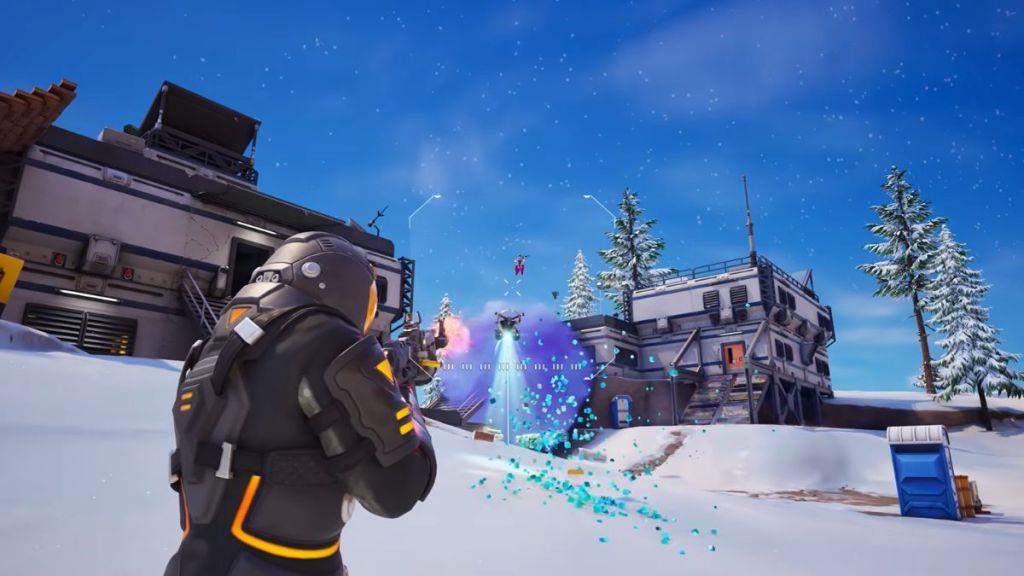
How to Use the Lock-On Assault Rifle in Fortnite
Fortnite’s Lock-On Assault Rifle uses a two-phase targeting system: keep enemies within the ADS reticle to fill four charging icons, then fire to unleash up to four guaranteed-hits bursts. Practice patience and position to maintain the lock, as moving behind cover or moving out of range will break the lock and reset the process. In combat, aim for distant, exposed targets on open terrain to maximize the weapon’s tracking advantage.
The Lock-On Assault Rifle functions differently from any of the other Assault Rifles in the Fortnite Chapter 7 Season 1 loot pool. This is not a weapon that you can simply spray and pray with, especially if you want its tracking to work properly.
Much like the Lock-On Pistol, the Lock-On Assault Rifle works in two separate phases: the tracking phase and the burst phase.
Targeting Phase
When you ADS with the Lock-On Assault rifle, a unique reticle appears on your screen. To engage with the lock-on feature, you need to keep your target within that zone. If you are able to do this successfully, you will see small icons begin to charge at around your target. You will know when a full lock-on has been achieved when all four icons turn red.
The Burst Phase
Once you have your lock-on confirmed, you just need to press fire and let out bursts of bullets that are guaranteed to hit your target. You can only charge up to 4 bursts at a time, keeping the weapon from being too overpowered. It is important to remember that if the enemy moves behind cover or out of the 50-meter range, the lock-on will break.
Where to find Lock-On Assault Rifle locations in Chapter 7
You don’t need to go to any single “named” landmark for the Lock-On Assault Rifle in Chapter 7 Season 1, because it’s part of the general loot pool rather than a boss or POI-locked weapon.
Where it can spawn
You can find the Lock-On Assault Rifle at any of these loot sources across the whole Chapter 7 map:
-
Floor loot on the ground in POIs and smaller landmarks.
-
Standard loot chests in buildings and key locations. Opening lots of chests is the most consistent way to get one.
-
Supply Drops that fall mid-match.
-
AR vending machines, where you can buy one with Gold once it’s in their item pool.
How its “locations” work
-
It has no fixed or guaranteed spawn spot (no special boss or vault to clear); it’s a random drop that appears from the sources above.
-
It comes in Rare to Legendary rarities, so higher-tier versions are simply rarer, not tied to different locations.
Practical farming tips
-
Land at busy POIs with many buildings (and therefore many chests), then rotate quickly while looting every chest you see.
-
Check AR vending machines you pass; if a Lock-On is available and you have enough Gold, that’s your most reliable “location.”
-
If you’re doing a weekly quest that needs the Lock-On, expect to play a few matches, focusing on chest-rich routes instead of chasing any one marked point on the map.
How does the Lock-On Assault Rifle’s targeting and burst phases work
The Lock-On Assault Rifle uses a two-step system: a Targeting phase to build the lock, then a Burst phase that auto-hits once you fire.
1. Targeting phase (locking on)
-
When you aim down sights, a special reticle appears; you must keep your enemy inside this reticle and maintain line of sight.
-
While the target stays in the reticle, four small lock indicators charge up around them; when all four turn red, you have a full lock.
-
The lock breaks if the enemy goes behind cover, leaves the effective range (about 50 meters), or you stop aiming.
2. Burst phase (firing)
-
After full lock, pressing fire releases a short burst that is guaranteed to hit that locked target, even if they strafe or jump a bit during the burst.
-
The weapon can store up to four bursts per lock cycle, but you can only “charge” those four at once so it doesn’t become overpowered.
-
If you shoot before full lock (fewer than four indicators), your damage becomes less consistent and you risk wasting ammo.
3. How to use it effectively
-
Treat it as a mid-range tracker: hold your aim, wait for full red indicators, then fire to secure reliable damage on running or rotating enemies.
-
Avoid close-range duels with it; pair it with a shotgun or SMG and use the Lock-On AR mainly to crack shields or finish fleeing players in the open.