A Ghast that smiles instead of screams? The Happy Ghast isn’t a myth-it’s a secret mob twist waiting for clever players to tame. Here’s how to turn the Nether’s loudest menace into your glowing companion.
How to Get Happy Ghast in Minecraft
To get a Happy Ghast in Minecraft, you need to participate in special events or use custom mods and resource packs that add this rare variant to the game. Normally, Ghasts are hostile mobs found in the Nether, but the Happy Ghast is a cosmetic or modified version that appears only through community-made content or limited-time updates. After installing the required mod or pack, you can spawn it the same way as a regular Ghast, often through creative mode or specific summoning commands.
As mentioned, happy ghasts can’t be found naturally roaming around in Minecraft. The process begins with a dried ghast, a new type of block found in the Nether world. Thankfully for you, we have a guide on how to get dried ghast block in Minecraft to save you the trouble. Nonetheless, we do suggest you equip a good set of gear so you don’t die in that hellish world. With that said, here’s the entire process on how to get a happy ghast in Minecraft.
1. Get a Dried Ghast Block
As mentioned above, in order to get a happy ghast, we must begin with a dried ghast block to grow. Dried ghast blocks are only found in the soul sand valleys of the Nether dimension, and mainly around the fossils with a 33.3% chance of spawning.
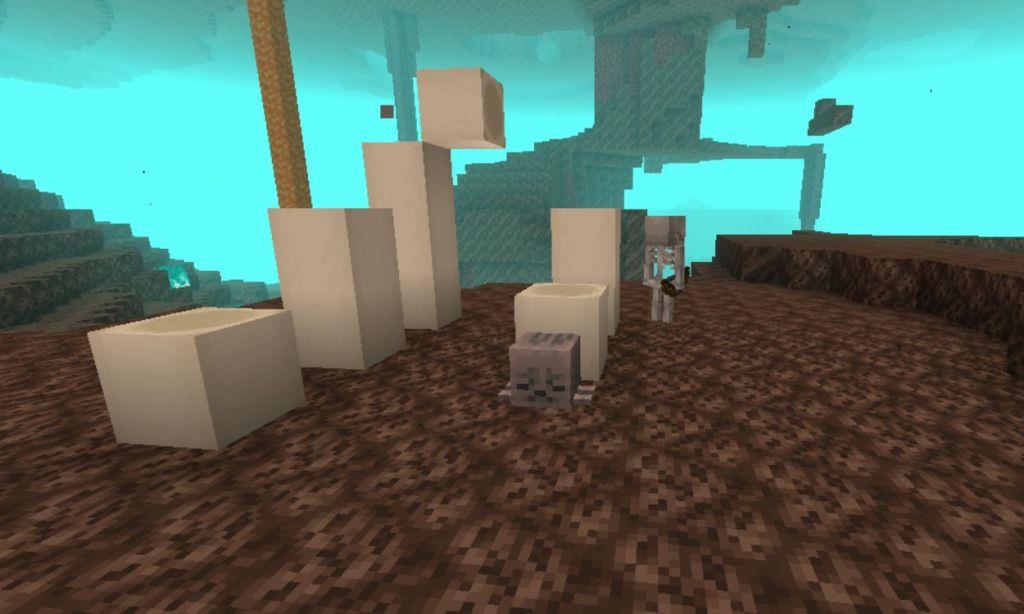
There are other ways to get a dried ghast block, like crafting one or bartering with Piglins. So the first thing you must do is get your hands on a dried block and then read on.
2. Waterlog the Dried Ghast
Having obtained a dried ghast block, it is time to literally water it! So, place the dried ghast block on the ground and get a water bucket. Once done, hold it up and press the right mouse button on the ghast block. This will waterlog the entire block thereby kind of drowning it. Don’t worry though as that’s what we need.
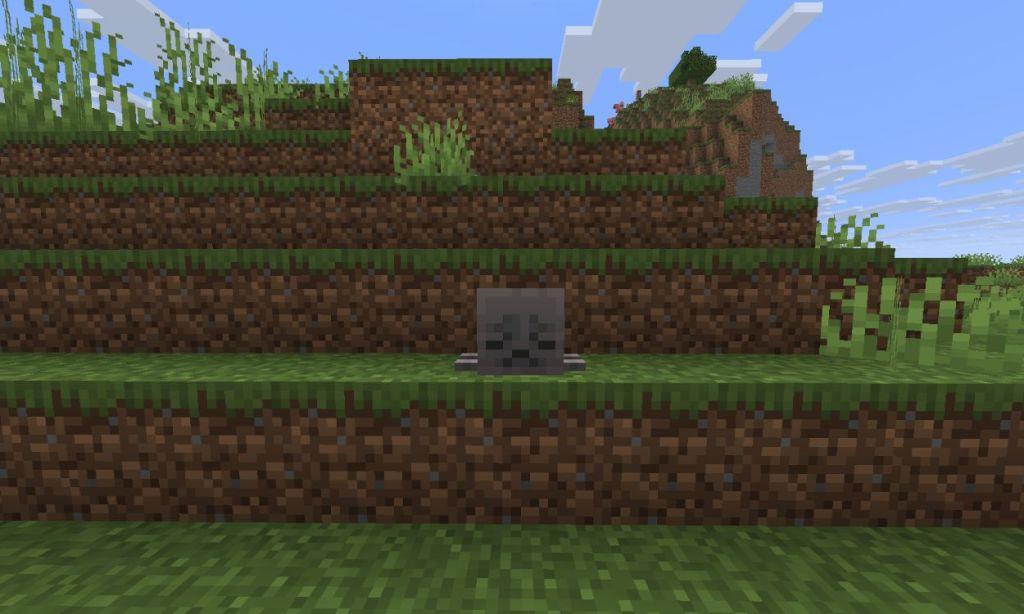
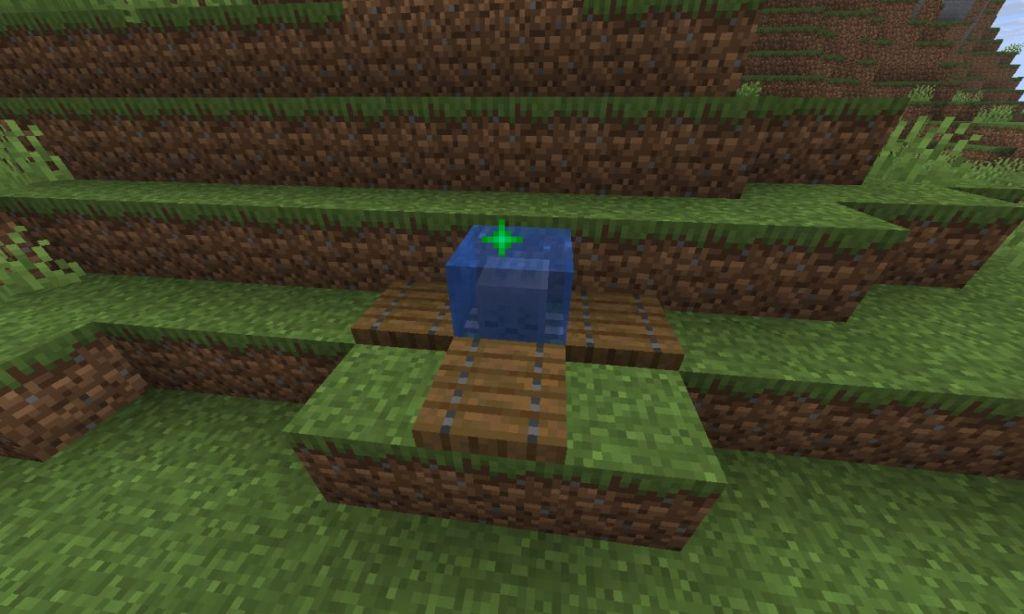
With the entire block surrounded by water, we only need to wait about 20 minutes. So just be patient and watch the magic happen.
Also Read: Minecraft Snapshot 25W15A Brings Ghasts, Player Locator Bar, and More
3. Nurture the Ghastling
As the 20 minutes pass, the dried ghast block slowly changes its facial expressions. As more of the block is hydrated, it will transform into a cute and happy ghastling.
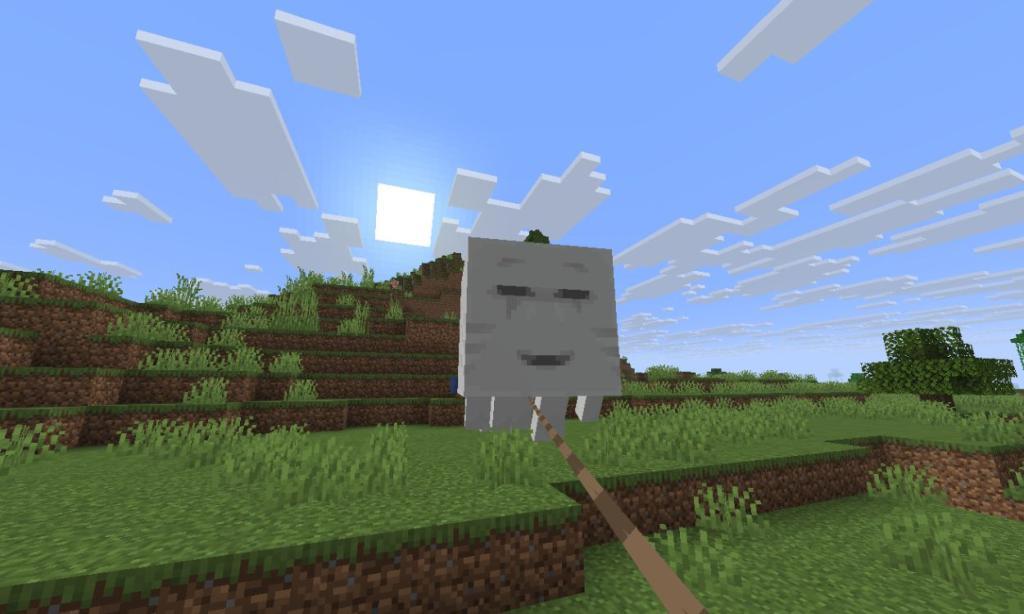
Now you must wait another 20 minutes for this Minecraft mob to grow completely. However, you can feed the ghastling some snowballs to help it mature faster. However, if you don’t have that patience, you can feed the ghastling a total of 64 Snowballs to turn it into a happy ghast instantly.
All Uses of Happy Ghasts in Minecraft
Happy Ghasts serve multiple roles after taming. Players ride them through the Nether for fast travel, bypassing hazardous terrain. Their tears act as a renewable source for crafting potions of regeneration. In bases, they act as guards, firing fireballs at hostile mobs while ignoring allies. Creative builders use them for aerial decoration and automated farms that collect ghast drops automatically.
And there you have it, you will now have a happy ghast that you can use to ride around. This cute mob can accommodate four players together in the sky! You can even carry them anywhere by attaching them with a lead. However, to ride these creatures, you will require a harness that can be crafted using 3 leather blocks, 2 glass blocks, and 1 wool block.

Furthermore, happy ghasts can be used to transport mobs all across the world. Either attach one end of the lead to a livestock mob and the other to the ghast, or use a happy ghast and a boat configuration to carry mobs. This way, you can carry two villagers on a boat and make a villager trading hall around your base, or carry the heavier mobs that couldn’t be done previously.
Steps to craft a Happy Ghast harness and materials needed
Crafting a Happy Ghast harness in Minecraft requires simple materials and follows a specific pattern in the crafting table.
Materials Needed
Gather these items first:
-
3 Leather (from cows, hoglins, or villagers).
-
2 Glass (smelt sand in a furnace).
-
1 Wool (any color, from sheep via shearing or killing).
Crafting Recipe
Open a crafting table and arrange as follows (top row flexible):
textLeather Leather Leather Glass Wool Glass
This yields one harness, colored by the wool used.
Dyeing and Use
Dye the harness later by combining it with any dye in the crafting grid. Right-click a tamed Happy Ghast to equip it, then mount by right-clicking again; use shears to remove.
How to dye the Happy Ghast harness
Dyeing a Happy Ghast harness in Minecraft is a straightforward process that changes its color using any standard dye.
Materials Needed
You need one crafted harness and one dye of your choice (e.g., red dye from poppies, blue from lapis).
Dyeing Steps
Open a crafting table and place the harness in any slot, then put the dye in an adjacent slot (exact positions are flexible).
-
The harness immediately updates to the new color upon crafting.
-
Repeat with different dyes anytime to recolor it multiple times without limit.
Tips
Pre-dye wool before crafting the harness for your initial color, or use shears to remove it from the Ghast first if needed. The color affects only the harness’s appearance on the Happy Ghast.
