Hearts, roses, and glitter fill the runway as Dress to Impress launches its Valentine’s Quest. Chapter 1 sets the stage with hidden tasks, secret rewards, and fashion challenges that test both charm and creativity – here’s how to conquer every moment with style.
The DTI Valentine’s quest is the most exciting part of the update, and it is divided into two chapters. In this step-by-step guide, learn how to complete the Valentine’s Quest chapter 1 in Dress to Impress.
How to Start DTI Valentine’s Quest Chapter 1
To begin Chapter 1 of the Valentine’s Quest in Dress to Impress, visit the event area marked with Valentine decorations on the main map. Speak with the NPC named Cupid or interact with the heart-shaped prompt to trigger the quest introduction. You will receive your first set of objectives, typically involving outfit themes related to love or romantic colors. Complete the assigned dress-up challenge, submit your look for judging, and wait for the results to progress to the next part of the chapter.
Before you start the Valentine’s quest, you must enter the portal in the waiting lobby. Once your runway competition ends, locate the portal near the garden entrance. After you enter it, you will be taken to the quest lobby.
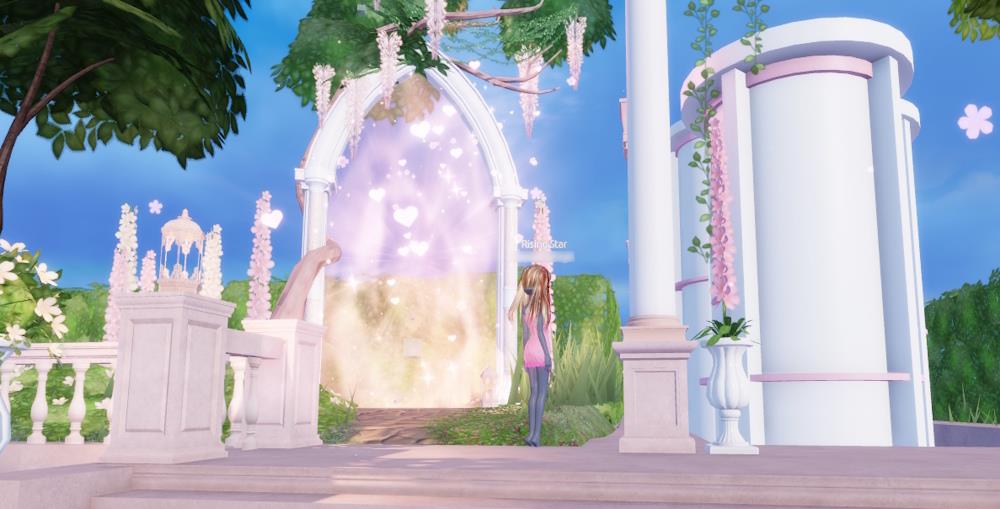
To start the Valentine’s quest, hop onto one of the Chapter 1 trains. You can participate as a solo, duo, 4-player, or 6-player party. Now, find the gate in the garden to proceed to the first cutscene. You can skip the cutscene by clicking the button on the bottom right of your screen.
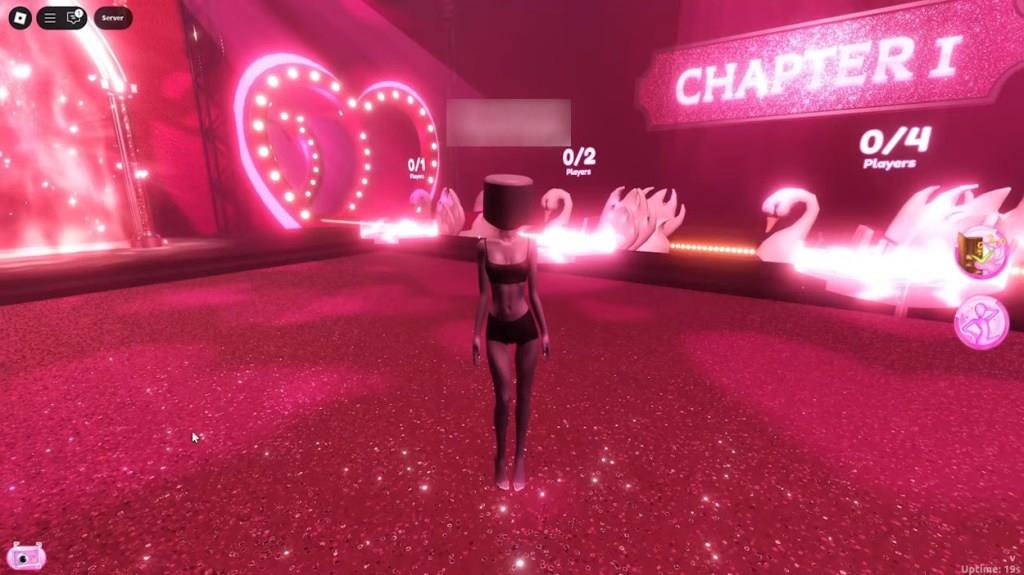
Dress to Impress Valentine’s Quest Chapter 1 Part 1
Kick off Valentine’s Quest Chapter 1 Part 1 in Dress to Impress by selecting the Love Story theme from the quest menu. Assemble your outfit with a red mini dress, heart-shaped earrings, and matching heels to hit the style targets. Pose on the runway once dressed, then check the results screen for your score and rewards. Repeat if needed to boost your rating and advance.
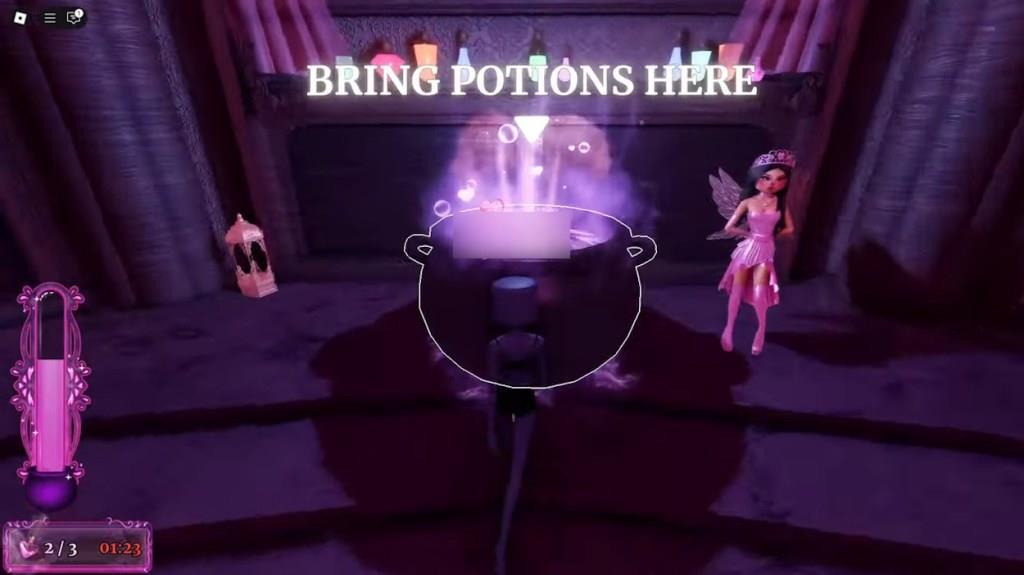
As the cutscene ends, walk toward the hallway, and turn left just before it ends. This will lead you to the cauldron room. Another cutscene will play to begin your first task. To complete this task, you must go near each cauldron in the room.
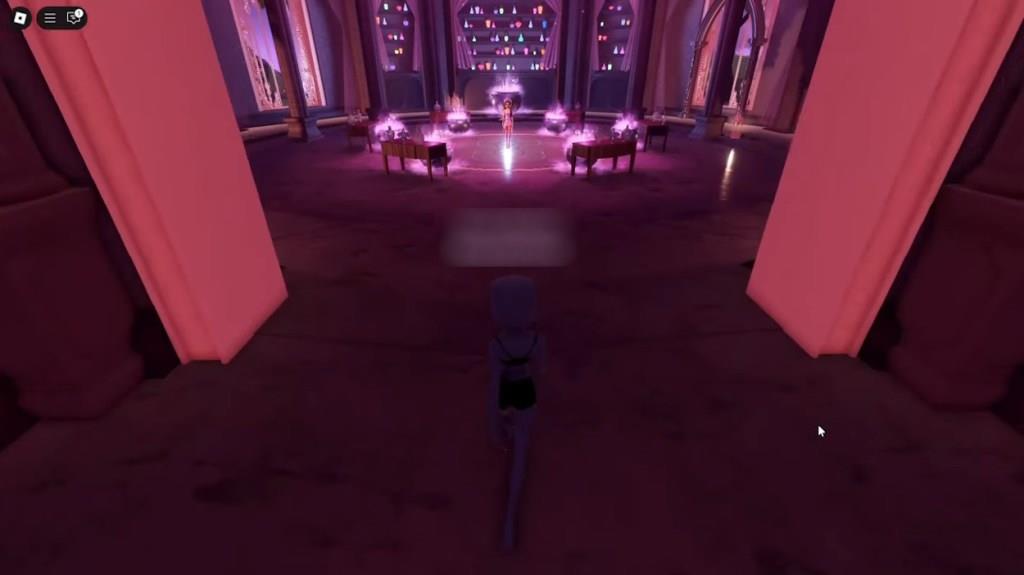
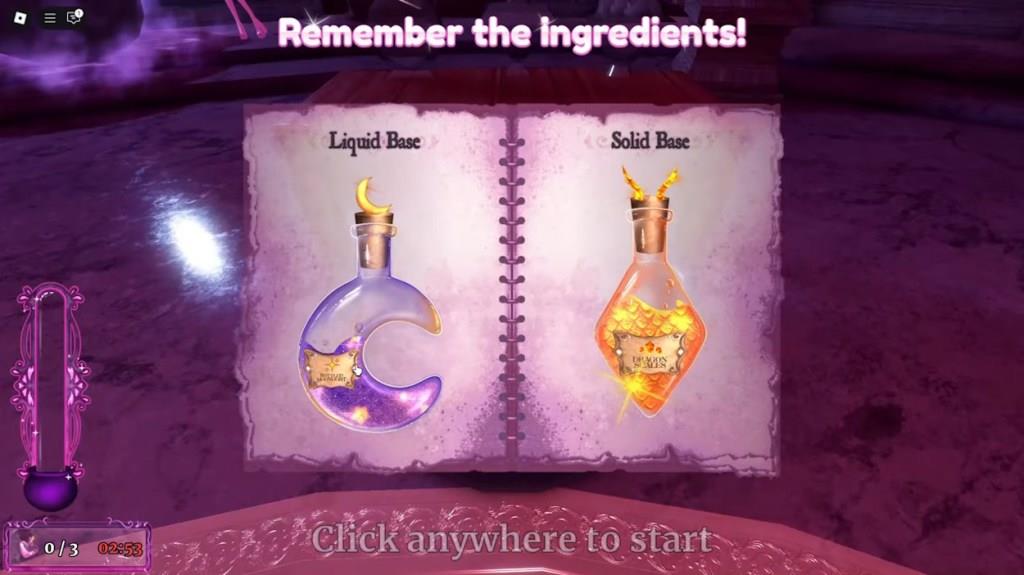
Once you are in front of any cauldron, it will show you two different potions. Keep them in mind, choose the exact bottles, and mix them by dragging the mouse around (up and down or left and right). Repeat this process three times for one bottle. Finally, bring the potions to the huge cauldron beside the Leah Ashe NPC. Also Read: All Themes in Dress to Impress (A Complete List)
You must brew and submit all six potions in the designated time to complete this task. Keep checking the timer on the bottom left of your screen as failing to do the task within this time will make you restart the task from the lobby. Yeah, unlike getting free outfits using Dress to Impress codes, doing the quests can take a lot of grind. So, time is crucial here.
Dress to Impress Valentine’s Quest Chapter 1 Part 2
In Dress to Impress, Chapter 1 Part 2 of Valentine’s Quest, you’ll refine your look to match the mood of the celebration, balance stylish flair with comfort, and prepare your character for the next set of social challenges that test your presentation and timing.
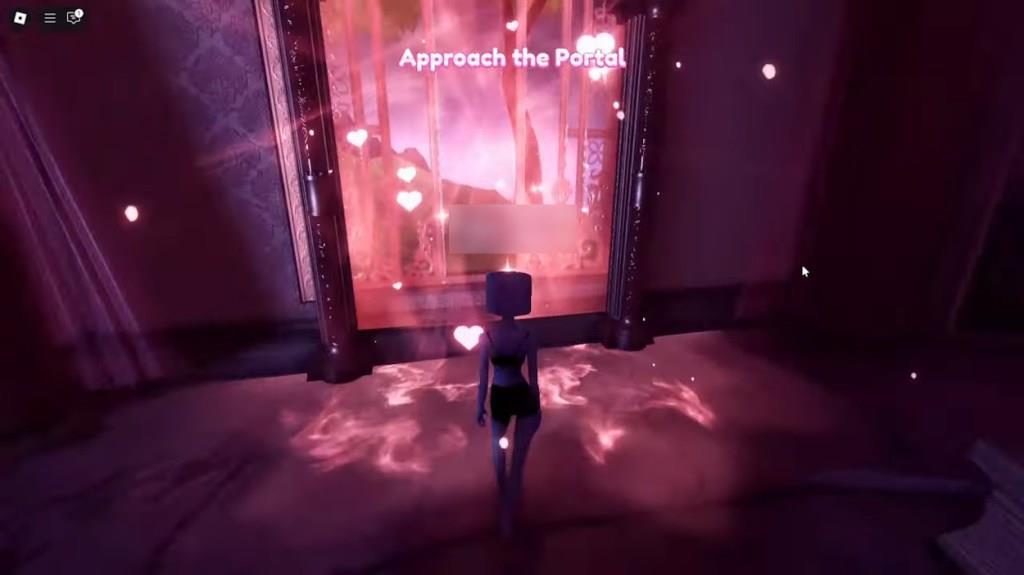
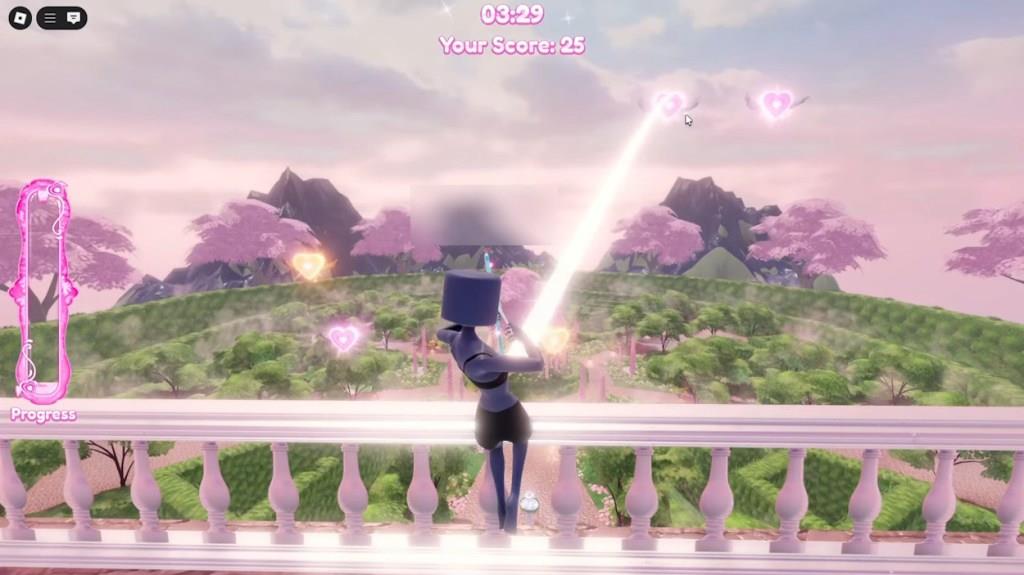
To start part 2 of chapter 1 in Valentine’s quest, you must enter the portal in the potion room after completing the task. This will take you to a shoot-the-heart mission. By hitting the hearts, you will gather points. Fill the bar on your left with 100% points to complete this. Keep an eye on the timer on top of the screen. If you hit the Golden Hearts, you will get more points.
Where to find the cauldrons and potion ingredients map locations
In Dress to Impress Valentine’s Quest Chapter 1, the main cauldron for potion brewing is located in the hall near NPC Leah after the initial gate cutscene. Small ingredient cauldrons showing bottle shapes are right beside it for the mini-game.
Cauldron Locations
The primary brewing station sits centrally in the left hall post-cutscene, with three glass bottles nearby for filling potions. Ingredient selection happens at adjacent small cauldrons displaying the required shapes to memorize and match-no map exploration needed, as all stay in this compact area.
Ingredient Details
No physical “ingredients” scatter the map; instead, view two bottle silhouettes on-screen at the small cauldrons, then pick identical shapes from the bottom menu to mix by tracing arrows. Repeat for three potions per round (three rounds total), then pour into the large cauldron by Leah-failure resets the timer.
Show cauldron locations on the world map for 99 Nights in the Forest
99 Nights in the Forest features procedurally generated maps across biomes like Forest, Snow, and Volcanic, with no fixed world map coordinates for cauldrons. Cauldrons spawn next to Crafting Benches in various structures, such as sheds, cabins, or towers, requiring exploration to locate.
Cauldron Spawn Mechanics
Cauldrons appear dynamically near crafting areas for potion brewing, often in Forest Biome structures like Wooden Sheds or Cabins. Check structures listed on the wiki (e.g., Small Shed, Watchtower) by entering and scanning for benches-Halloween updates added themed variants in random spots.
Ingredient Gathering Areas
Ingredients like Cave Vine (underground kid houses), Moonflower (behind kid signs at night), Drip Leaf (ponds), and Stareweed (grown via Fairy seeds) scatter across biomes without map pins. Use the in-game guide book or Fairy trades (10 flowers at her house) for seeds and recipes; ponds and ritual sites host common plants.
